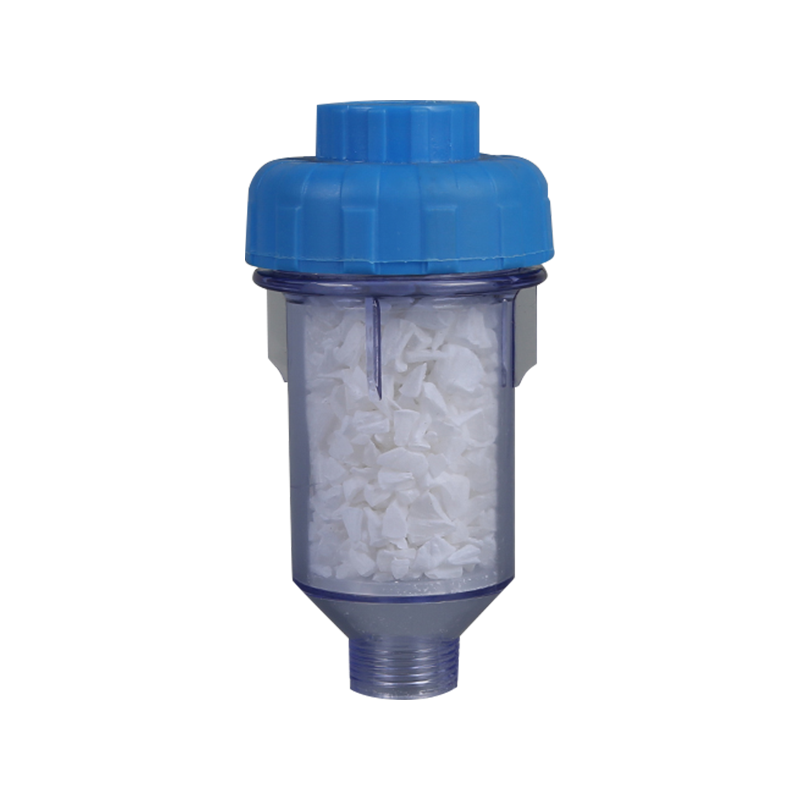
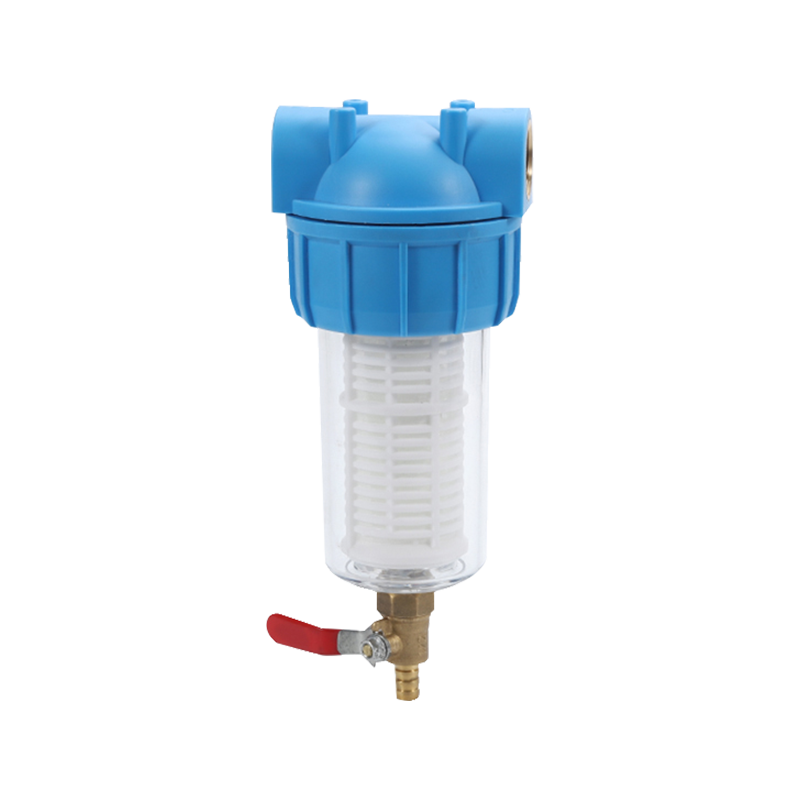
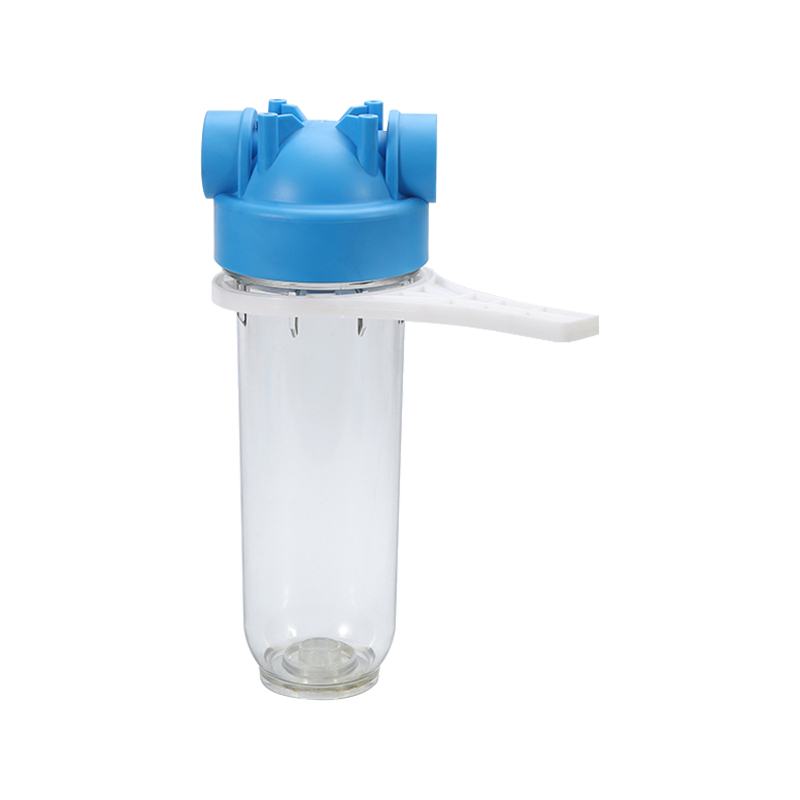
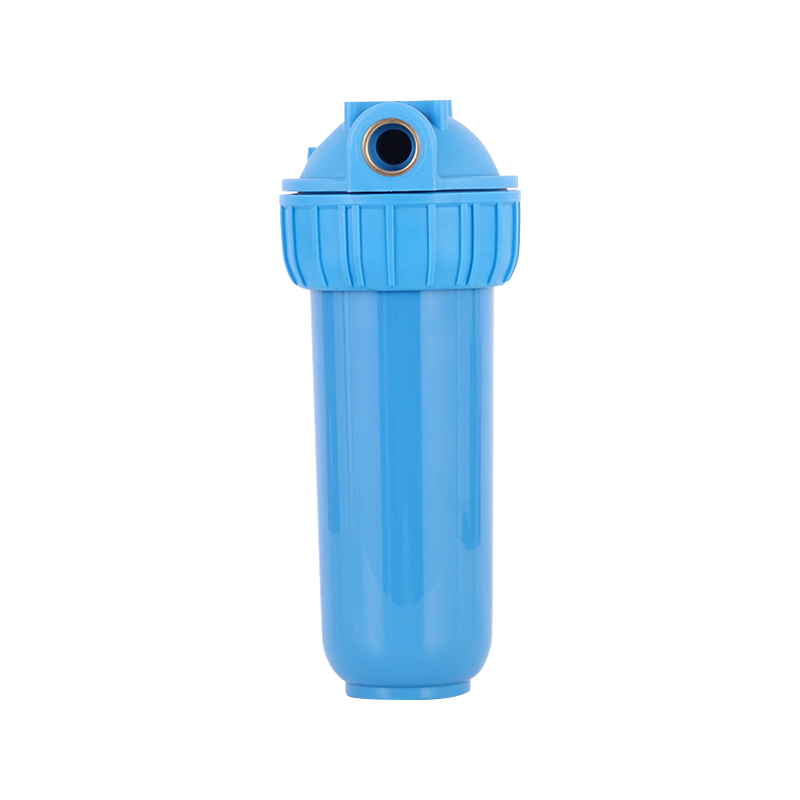
The core highlight of this filter is its built-in silicone sheet filter layer. As a high-performance elastic material, silicone has high-temperature resistance, aging resistance, corrosion resistance,...
See Details [email protected]
 +86-18857088392
 No. 1, Guihua 'an Road, Qinggang Xiaohu Family, Mushan Town, Yuyao , Zhejiang, CHINA
Water Filter Cartridge Replacement Guide: When and How to Change It
Industry News-Introduction
Water is essential to life—but not all water is safe to drink straight from the tap. That’s why millions of households use water filtration systems to ensure clean, great-tasting water. But even the best filtration system is only as effective as its filter cartridge.
Over time, water filter cartridges become clogged with contaminants, reducing their ability to purify water. Replacing them regularly is critical for maintaining both water quality and your family’s health.
Why Replacing Your Water Filter Cartridge Matters
Your water filter cartridge plays a crucial role in trapping impurities such as:
Chlorine and other chemicals
Heavy metals like lead and mercury
Sediments and rust
Microorganisms (depending on filter type)
Over time, these trapped contaminants accumulate, causing:
Reduced filtration efficiency
Bad taste or odor in water
Decreased water flow
Potential bacterial growth in the filter
Failing to replace your cartridge regularly can lead to poor water quality and even health risks—especially for children, the elderly, or immunocompromised individuals.
How Often Should You Replace Your Water Filter Cartridge?
There’s no one-size-fits-all answer. Replacement frequency depends on the type of filter, your water source, and usage habits. However, here are some general guidelines:
| Filter Type | Recommended Replacement Cycle |
|---|---|
| Activated Carbon | Every 3–6 months |
| Sediment (PP) Filter | Every 3–6 months |
| Reverse Osmosis (RO) | Every 2–3 years (membrane) |
| Granular Carbon (GAC) | Every 6–12 months |
| Refrigerator Filter | Every 6 months |
| Whole-House Filter | Every 3–12 months |
Factors that Affect Lifespan:
Water quality: Hard water or heavily contaminated water shortens lifespan.
Usage: More people = more water = faster clogging.
System design: Some systems have pre-filters that reduce wear on main filters.
Pro Tip: Always refer to your manufacturer’s instructions for the most accurate timeline.
5 Signs It's Time to Replace Your Filter Cartridge
Even if you’re not keeping track of dates, your filter will let you know when it's overdue. Watch out for these signs:
Decreased water pressure or flow rate
→ Indicates clogging due to sediment buildup.
Unpleasant taste or odor
→ A strong chlorine smell or metallic taste often means the carbon is exhausted.
Cloudy or discolored water
→ Sediment filters may no longer be effectively trapping particles.
Filter discoloration or visible debris
→ A visual cue, especially for transparent filter housings.
Filter system alerts or lights
→ Some smart filters provide indicators or app notifications.
How to Replace Your Water Filter Cartridge (Step-by-Step)
Replacing your cartridge is a simple process. Here's how:
Tools You May Need:
A filter wrench (for tight housings)
Towel or basin (to catch drips)
New replacement cartridge
Gloves (optional but recommended)
Step-by-Step Guide:
Turn off the water supply to your filter system.
Relieve pressure in the system by turning on the faucet or using the pressure release button.
Unscrew the filter housing (counter-clockwise) using a filter wrench if needed.
Remove the old cartridge and discard it according to local regulations.
Clean the inside of the housing with warm soapy water or a vinegar solution.
Insert the new filter cartridge, making sure it's properly aligned.
Lubricate the O-ring (if applicable) and reattach the housing tightly.
Turn the water back on slowly and check for leaks.
Flush the new cartridge by running water through for 5–10 minutes.
Tips to Extend the Life of Your Water Filter Cartridge
Install a pre-filter: Reduces sediment load on your main cartridge.
Flush regularly: Helps maintain flow rate and cleanliness.
Use filtered water efficiently: Avoid unnecessary waste.
Monitor water usage: Track family consumption to estimate lifespan.
Store spare cartridges properly: Keep in a cool, dry place to preserve shelf life.

 English
 русский
 Español
 عربى
عربى 中文简体
中文简体
 >
> >
> >
> >
> >
> >
> >
> >
>
