 English
 русский
 Español
 عربى
عربى 中文简体
中文简体
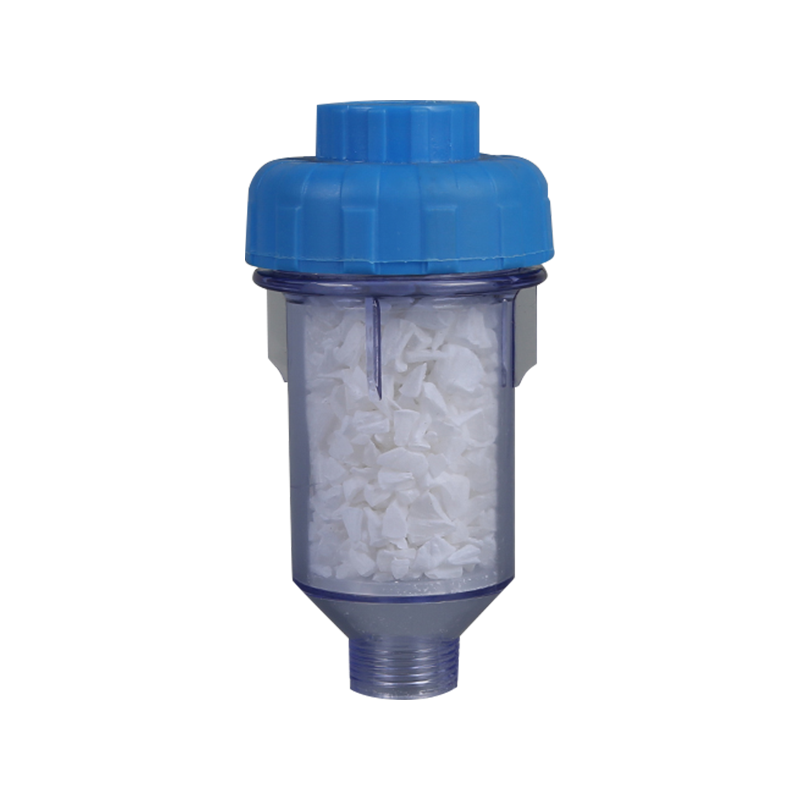 >
>The core highlight of this filter is its built-in silicone sheet filter layer. As a high-performance elastic material, silicone has high-temperature resistance, aging resistance, corrosion resistance,...
See Details [email protected]
 +86-18368206374
 No.99,Yuma Road,Mazhu Town,Yuyao City,Zhejiang Province,China.
How To Change Water Filter?
Industry News-Content
- 1 What This Guide Covers
- 2 Quick Answer: How to Change Water Filter
- 3 How to Change Water Filter in Fridge
- 4 How to Replace Refrigerator Water Filter by Brand
- 5 How to Change Reverse Osmosis Filters
- 6 Understanding Your Reverse Osmosis Water Filter
- 7 Whole House Water Filter Replacement
- 8 Comparing Water Filtration System Types
- 9 Signs You Need to Change Your Water Filter
- 10 Tools, Safety, and Common Mistakes
- 11 Maintenance Schedule at a Glance
- 12 Choosing a Reliable Water Filtration Manufacturer
- 13 Frequently Asked Questions
- 14 Understanding What Different Filters Actually Remove
- 15 Cost Comparison and Long Term Savings
- 16 Special Considerations for Well Water Households
- 17 Troubleshooting After a Filter Change
- 18 Environmental and Health Considerations
Water Filtration Guide
Everything you need to know about how to change water filter units at home, including refrigerator cartridges, reverse osmosis membranes, and whole house filter housings, with step by step instructions, tools, schedules, and troubleshooting tips.
What This Guide Covers
- Quick Answer: How to Change Water Filter
- How to Change Water Filter in Fridge
- How to Replace Refrigerator Water Filter by Brand
- How to Change Reverse Osmosis Filters
- Understanding Your Reverse Osmosis Water Filter
- Whole House Water Filter Replacement
- Comparing Water Filtration System Types
- What Different Filters Actually Remove
- Cost Comparison and Long Term Savings
- Special Considerations for Well Water
- Signs You Need to Change Your Water Filter
- Tools, Safety, and Common Mistakes
- Troubleshooting After a Filter Change
- Maintenance Schedule at a Glance
- Environmental and Health Considerations
- Choosing a Reliable Filtration Manufacturer
- Frequently Asked Questions
Quick Answer: How to Change Water Filter
If you only need the short version, here it is. To change most water filters, you first turn off the water supply feeding the unit, then relieve the built up pressure by opening a faucet or pressing the release button on the housing. Next you remove the old cartridge by twisting it counterclockwise or unclipping the filter head, and you replace any O rings that look worn. After that you insert the new cartridge, making sure the flow arrow points in the correct direction, and you turn the water supply back on slowly while checking for leaks. Finally you flush the new filter for several minutes before drinking the water, since new cartridges often release carbon dust and air bubbles during the first use.
The exact steps differ depending on whether you are dealing with a refrigerator cartridge, a reverse osmosis water filter, or a whole house water filter, so the sections below walk through each type in detail with specific timing, tools, and brand notes.
Refrigerator filters Reverse osmosis filters Whole house filters Under sink systems
How to Change Water Filter in Fridge
Learning how to change water filter in fridge units is one of the most common home maintenance tasks, since most refrigerator cartridges need replacement every six months. Fridge filters are usually located in one of three places, the upper right corner of the interior, the base grille near the floor, or behind the crisper drawers. Before you start, find your refrigerator model number, which is typically printed on a sticker inside the door frame or on the side wall, so you can order the correct replacement cartridge.
Step by Step Process
- Locate the filter compartment. Check the owner manual if you are unsure, since some models hide the filter behind a small door with a push button release.
- Turn the old filter counterclockwise about a quarter turn, or press the release tab, depending on your model. Most fridge filters use a twist and pull design rather than screws.
- Pull the old cartridge straight out. A small amount of water may drip out, so keep a towel underneath.
- Remove the packaging from the new filter and take off any protective caps covering the O rings.
- Align the new filter with the guide slot and insert it, then twist clockwise until it clicks or locks into place.
- Close the compartment door and run several gallons of water through the dispenser to clear out carbon fines and air before drinking.
- Reset the filter indicator light on the control panel, which is usually done by holding the filter reset button for three to five seconds.
Tip: Most refrigerator filters are rated for either 200 gallons or 300 gallons of water, whichever comes first between that volume and the six month mark. A household of four typically hits the six month mark before the gallon limit, while larger households may need to change filters more often.
What You Will Need
| Item | Purpose | Typical Cost |
| Replacement cartridge matching your model | Core filtration component | 15 to 55 dollars |
| Small towel or tray | Catch drips during removal | Household item |
| Owner manual or model sticker photo | Confirm correct part number | Free |
| Timer or phone reminder | Track the six month cycle | Free |
How to Replace Refrigerator Water Filter by Brand
Understanding how to replace refrigerator water filter cartridges gets easier once you know your specific brand layout, since manufacturers vary in filter placement and locking mechanism. Below is a general comparison of common designs, though you should always confirm against your own model number before purchasing a cartridge.
Top corner style
Filter sits in the upper right interior corner behind a small flip down door. Twist and pull mechanism, quick tool free swap.
Base grille style
Filter is accessed from the bottom front grille panel. Often push to release, requires kneeling to reach.
External inline style
Filter is mounted on the back panel or under the unit, connected by tubing. Best changed with the water line shut off first.
Dual filter style
Some larger side by side models use both a water filter and a separate air filter, so double check which cartridge you are replacing.
Common mistake: Buying a generic cartridge that fits the housing but uses the wrong micron rating or lacks NSF certification for the contaminants your local water supply contains. Always match the certified part number rather than relying on shape alone.
Why the Filter Indicator Light Matters
Many refrigerators track usage electronically and will show a yellow or red indicator once the cartridge is near its rated capacity. This light is based on estimated flow volume rather than actual water quality testing, so if your water source has higher sediment or chlorine levels, you may want to change the filter slightly earlier than the light suggests.
How to Change Reverse Osmosis Filters
Knowing how to change reverse osmosis filters is slightly more involved than a fridge cartridge because a typical reverse osmosis water filter uses multiple stages, often including a sediment pre filter, a carbon pre filter, a semi permeable membrane, and a carbon post filter. Each stage has a different replacement interval, so it helps to label your housings or keep a simple log.
Step by Step Process for RO Filter Replacement
- Turn off the cold water valve that feeds the RO system, usually located under the sink.
- Turn off the valve on top of the storage tank to stop pressurized water from flowing back into the housings.
- Open the RO faucet at the sink and let it run until no more water comes out, which relieves system pressure.
- Use the housing wrench provided with your system to unscrew each filter canister counterclockwise. Some newer systems use quick change cartridges that twist off without a wrench.
- Remove the old filter or membrane and inspect the O ring on the housing rim for cracks or flattening.
- Wipe the inside of each housing clean and insert the new filter or membrane in the correct stage position, since stages are not interchangeable.
- Screw the housings back on hand tight, then a quarter turn more with the wrench, avoiding over tightening which can crack the housing.
- Turn the water supply valve back on slowly and check every housing for leaks around the seal.
- Turn the storage tank valve back on and allow the tank to refill, which can take two to four hours depending on your household water pressure.
- Drain the first full tank through the faucet without drinking it, since new carbon and membrane stages release fine particles during initial use.
Tip: Reverse osmosis membranes typically last twelve to twenty four months, while sediment and carbon pre filters usually need replacement every six to twelve months because they protect the more expensive membrane from clogging prematurely.
Stage by Stage Replacement Table
| Stage | Function | Typical Replacement Interval |
| Sediment pre filter | Removes dirt, rust, and larger particles | Every 6 months |
| Carbon pre filter | Removes chlorine and odor before the membrane | Every 6 to 12 months |
| Reverse osmosis membrane | Removes dissolved solids and fine contaminants | Every 12 to 24 months |
| Carbon post filter | Polishes water taste right before the faucet | Every 12 months |
Understanding Your Reverse Osmosis Water Filter
A reverse osmosis water filter uses pressure to force water through a semi permeable membrane with pores small enough to block dissolved salts, heavy metals, and many other contaminants that carbon filtration alone cannot remove. Because the membrane is the most delicate and expensive part of the system, protecting it with properly maintained pre filters directly extends its working life and reduces long term costs.
Signs Your RO Membrane Needs Attention
- Noticeably slower fill time for the storage tank than when the system was new
- A change in taste or a slightly salty flavor in the filtered water
- Higher total dissolved solids reading when tested with a simple TDS meter
- Reduced rejection rate, meaning more contaminants are passing through than before
Testing tip: A basic TDS meter costs very little and gives you an objective way to know when your reverse osmosis water filter is losing efficiency, rather than guessing based on time alone. Compare the reading from your RO faucet against your unfiltered tap water reading, and if the filtered reading rises above roughly ten percent of the tap reading, it is a sign the membrane needs replacement.
Whole House Water Filter Replacement
A whole house water filter treats all the water entering your home at the main line, rather than filtering water at a single tap, which means the cartridge inside handles a much larger volume than a fridge or under sink filter. Because of this, whole house units typically use larger housings, often four and a half inches or more in diameter, and the replacement process focuses heavily on depressurizing the entire home plumbing system safely before opening the housing.
Step by Step Process
- Locate the shutoff valves on either side of the whole house filter housing, usually near where the main water line enters the building.
- Close both valves to isolate the housing from the rest of the plumbing system.
- Open a pressure relief button on the housing if your model has one, or open a nearby faucet to release remaining pressure inside the canister.
- Use the housing wrench to loosen the sump counterclockwise. Because whole house housings hold more water, expect a larger amount of spillage, so place a bucket underneath first.
- Remove the old cartridge and check the O ring for wear, replacing it if it looks flattened or cracked.
- Clean the inside of the sump with a soft brush to remove sediment buildup before inserting the new cartridge.
- Reattach the sump hand tight plus a small additional turn with the wrench.
- Slowly reopen the inlet valve first to allow the housing to fill gradually, then open the outlet valve.
- Check the housing and connections carefully for leaks over the next hour, since pressure changes can reveal small drips that were not visible immediately.
Tip: Because a whole house water filter processes the total water use of an entire household, replacement frequency depends heavily on your water source. Municipal water with lower sediment might only need a cartridge change every two to three months, while well water with higher sediment or iron content may require monthly changes.
Choosing the Right Whole House Cartridge Micron Rating
| Micron Rating | What It Targets | Best For |
| 1 micron | Fine sediment, some bacteria | Well water with visible cloudiness |
| 5 micron | Standard sediment and rust particles | Most municipal water supplies |
| 20 micron | Larger particles and debris | Pre filtration ahead of finer stages |
| Carbon block | Chlorine taste and odor reduction | Households sensitive to chlorine smell |
Comparing Water Filtration System Types
Choosing the right water filtration system for your home depends on your water source, budget, and what specific contaminants concern you most. Below is a comparison to help you understand how the major system types differ before you decide what to install or replace.
| System Type | Coverage | Typical Lifespan of Filter | Best Use Case |
| Refrigerator filter | Ice maker and dispenser only | 6 months | Convenient drinking and ice water |
| Under sink reverse osmosis | Single kitchen faucet | 6 to 24 months by stage | High purity drinking water |
| Whole house filter | Entire home plumbing | 1 to 6 months | Sediment and chlorine reduction for all taps |
| Pitcher filter | Small batch, portable | 2 to 3 months | Renters or temporary use |
| Water softener combined with filtration | Whole home, focused on hardness | Resin lasts years, filter media varies | Homes with hard well water |
Many households actually combine systems, using a whole house water filter for general sediment and chlorine reduction at the main line, paired with a reverse osmosis water filter under the kitchen sink for the highest level of purification specifically for drinking and cooking water. This layered approach protects appliances throughout the house while still delivering excellent tasting water at the tap you use most.
Signs You Need to Change Your Water Filter
Even with a set schedule, it helps to recognize the physical warning signs that a cartridge has reached the end of its useful life, since actual water conditions can shorten or extend the theoretical lifespan.
- Noticeably reduced water flow or pressure at the faucet or dispenser
- A metallic, musty, or chlorine like taste returning to your drinking water
- Cloudy or discolored water coming from the tap after filtration
- Visible sediment buildup inside a clear filter housing
- An indicator light or digital reminder on your refrigerator or filtration unit
- A rising total dissolved solids reading when tested with a meter, particularly relevant for a reverse osmosis water filter
Important: Never continue using a cartridge well past its rated capacity, since a saturated carbon filter can begin releasing trapped contaminants back into the water rather than continuing to absorb them.
Tools, Safety, and Common Mistakes
Basic Tool Checklist
Housing wrench Bucket or towel Replacement O rings Plumbers tape TDS meter Flashlight
Common Mistakes to Avoid
- Forgetting to relieve pressure before opening a housing, which can cause water to spray out forcefully
- Installing a filter backwards, since most cartridges have a printed flow direction arrow that must match the housing
- Over tightening the housing, which can crack plastic components or damage the O ring seal
- Skipping the initial flush, which leaves carbon dust or trapped air in your first few glasses of water
- Using a cartridge that is not certified for your specific contaminant concerns, rather than matching NSF standards to your actual water report
Safety note: If your home uses well water, consider having it tested annually, since sediment load and bacterial presence can vary by season and directly affect how often you should change your water filter.
Maintenance Schedule at a Glance
| Filter Type | Recommended Interval | Reminder Method |
| Refrigerator water filter | Every 6 months or 200 to 300 gallons | Built in indicator light |
| RO sediment and carbon pre filters | Every 6 to 12 months | Calendar reminder or filter tracking sticker |
| RO membrane | Every 12 to 24 months | TDS meter reading |
| Whole house sediment filter | Every 1 to 6 months depending on water source | Visual inspection of clear housing |
| Pitcher filter | Every 2 to 3 months | Manufacturer indicator strip |
Choosing a Reliable Water Filtration Manufacturer
Whether you are replacing a single refrigerator cartridge or planning a full whole house water filter installation, the quality of the filtration media and housing components has a direct impact on how well your water filtration system performs over time. Working with an experienced manufacturer helps ensure that cartridges are consistent in micron rating, that O rings seal properly, and that replacement parts remain available for years after your original purchase.
Ningbo Yaorui Water Purification Technology Co., LTD. is one such manufacturer, producing filtration components and complete systems including reverse osmosis water filter cartridges, whole house filter housings, and replacement parts designed to match common fittings used across the water filtration system industry. For homeowners or businesses sourcing filters directly from a manufacturer rather than only through retail packaging, working with a dedicated production company like Ningbo Yaorui Water Purification Technology Co., LTD. can provide more consistent quality control and clearer technical specifications when selecting the right cartridge for a given application.
What to Look for in a Filtration Manufacturer
| Factor | Why It Matters |
| Certified testing of filtration media | Confirms actual contaminant reduction claims |
| Consistent housing dimensions | Ensures replacement cartridges fit correctly across product lines |
| Clear documentation of micron rating and flow rate | Helps you match the filter to your specific water conditions |
| Long term parts availability | Avoids having to replace an entire system when only the cartridge wears out |
Note: Always confirm compatibility between a manufacturer's cartridge and your existing housing dimensions before purchasing, since even small differences in thread pattern or diameter can prevent a proper seal.
Frequently Asked Questions
How often should I change a refrigerator water filter
Most manufacturers recommend every six months or after roughly 200 to 300 gallons of use, whichever comes first, though households with heavy usage may need to change it sooner.
Can I change reverse osmosis filters myself without a plumber
Yes, most homeowners can change reverse osmosis filters themselves with a basic housing wrench and about thirty minutes of time, as long as they follow the shutoff and pressure relief steps carefully.
Does a whole house water filter reduce water pressure
A properly sized whole house water filter should have minimal impact on pressure when the cartridge is fresh, though pressure will gradually drop as the filter accumulates sediment, which is a normal sign that a replacement is due.
What happens if I forget to change my water filter for a long time
An overdue filter can become saturated and less effective at removing contaminants, and in some cases can even release trapped material back into the water, so it is better to replace it slightly early than significantly late.
Is a reverse osmosis water filter better than a standard carbon filter
A reverse osmosis water filter generally removes a wider range of dissolved contaminants than carbon filtration alone, though carbon filters are simpler, less expensive, and often sufficient for households mainly concerned with chlorine taste and odor.
How do I know which replacement cartridge fits my system
Check the model number on your existing housing or refrigerator, or measure the length and diameter of your current cartridge, and match those specifications against the manufacturer listing before purchasing a replacement.
Can I use a generic filter instead of the brand name cartridge for my refrigerator
In many cases a generic cartridge will physically fit the housing, but you should confirm it carries proper certification for the contaminants you care about and that its rated capacity and micron rating match the original part, since not all generic options are held to the same testing standard.
Why does my new reverse osmosis water filter produce less water than before
A drop in output right after replacing filters is often related to storage tank pressure rather than the filters themselves, so check that the tank valve is fully open and that the tank bladder has the correct air pre charge before assuming a filter or membrane issue.
Is it normal for a whole house water filter housing to have some water left inside after I shut off the valves
Yes, some residual water almost always remains trapped in the housing even after both valves are closed, which is why placing a bucket underneath and opening a pressure relief button before removing the sump is an important step in the process.
Should I replace every stage of my reverse osmosis water filter at the same time
It is not strictly necessary since each stage has a different rated lifespan, but many households find it more convenient to replace the pre filters together on a fixed schedule and track the membrane separately with a TDS meter, since the membrane typically lasts longer than the pre filters.
Can a water filtration system remove fluoride from tap water
Standard carbon filters generally do not remove fluoride effectively, while a properly functioning reverse osmosis water filter can reduce fluoride significantly because the membrane targets dissolved substances at a very fine level, though actual reduction rates vary by membrane condition and water pressure.
Understanding What Different Filters Actually Remove
One of the most common points of confusion when people research how to change water filter cartridges is realizing that not every filter removes the same contaminants. A basic carbon block cartridge in a refrigerator is designed primarily for chlorine taste, odor, and some sediment, while a full reverse osmosis water filter is engineered to strip out a much broader range of dissolved substances at the molecular level. Choosing the right filter starts with understanding your own water report, which most municipal utilities publish annually and which well owners can obtain through independent laboratory testing.
Carbon based filtration, whether in a fridge cartridge or a whole house water filter, works primarily through adsorption, meaning contaminant molecules stick to the surface of activated carbon granules or a solid carbon block as water passes through. This process is highly effective against chlorine, many pesticides, and substances that cause bad taste or odor, but it is much less effective against dissolved minerals, salts, and some heavy metals. That is where a reverse osmosis water filter becomes valuable, since the semi permeable membrane physically blocks particles based on size, capturing dissolved solids that carbon simply cannot catch.
| Contaminant | Removed by Carbon Filter | Removed by Reverse Osmosis | Removed by Sediment Filter |
| Chlorine taste and odor | Yes | Yes, through pre filter stage | No |
| Sediment and rust particles | Partial | Yes, through pre filter stage | Yes |
| Dissolved salts and minerals | No | Yes | No |
| Lead and heavy metals | Partial, depends on media | Yes | No |
| Bacteria and cysts | Partial, depends on micron rating | Yes, for most membrane types | No |
It is worth noting that no single filtration stage handles every category perfectly on its own, which is exactly why most reverse osmosis water filter systems layer several stages together. The sediment stage protects downstream components from clogging, the carbon stage protects the membrane from chlorine degradation, and the membrane itself performs the fine level purification. Understanding this layered design makes it much easier to see why replacing every stage of a water filtration system on schedule matters just as much as replacing any single cartridge.
Cost Comparison and Long Term Savings
Budgeting for filter replacement is an important part of owning any water filtration system, and costs vary quite a bit depending on the type of filter, the brand, and how often replacement is needed. Below is a general breakdown to help with planning, though actual prices will vary by region and retailer.
| Filter Type | Average Cost Per Cartridge | Annual Cost Estimate |
| Refrigerator water filter | 20 to 50 dollars | 40 to 100 dollars per year |
| RO sediment or carbon pre filter | 8 to 20 dollars each | 16 to 40 dollars per year per stage |
| RO membrane | 30 to 80 dollars | 15 to 80 dollars per year, since it lasts one to two years |
| Whole house sediment cartridge | 10 to 30 dollars | 60 to 240 dollars per year depending on change frequency |
| Pitcher filter cartridge | 6 to 15 dollars | 24 to 60 dollars per year |
When comparing these numbers against the cost of bottled water, most households find that even a fully equipped reverse osmosis water filter combined with a whole house water filter for sediment protection still costs considerably less per gallon than purchasing bottled water regularly. Beyond the direct cost of cartridges, timely filter changes also protect more expensive equipment, since sediment buildup in unfiltered water can shorten the lifespan of water heaters, washing machines, and other appliances that rely on clean water flow.
Budgeting tip: Buying replacement cartridges in multi packs directly from a manufacturer rather than one at a time from a retail shelf often reduces the per unit cost by a meaningful margin, particularly for households running both a whole house water filter and an under sink reverse osmosis water filter at the same time.
Special Considerations for Well Water Households
Homes on private well water generally face a different set of filtration challenges compared to homes on municipal supply, and this affects how often you should change your water filter across every stage of your system. Well water is not treated with chlorine before it reaches your home, so it may carry higher levels of sediment, iron, manganese, or in some cases bacteria, all of which place additional strain on filtration media.
- Test well water at least once a year for bacteria, nitrates, and mineral content, and more often if there are visible changes in taste, color, or clarity
- Expect to change a whole house water filter sediment cartridge more frequently than a municipal water household, sometimes monthly during spring runoff or after heavy rain
- Consider a sediment pre filter with a lower micron rating if your well water tends to run cloudy after storms
- Iron and manganese can stain fixtures and clog cartridges faster, so a dedicated iron filter stage ahead of your main water filtration system may extend the life of downstream filters significantly
Because well water conditions can shift seasonally, many well owners find it helpful to keep a simple log of filter replacement dates alongside water clarity notes, which makes it much easier to notice patterns and adjust the maintenance schedule proactively rather than reactively.
Troubleshooting After a Filter Change
Even when you follow every step correctly, it is common to run into a small issue after installing a new cartridge. Below are some of the most frequent problems people encounter right after learning how to change water filter units, along with practical fixes.
Water tastes odd right after installation
This is usually normal and caused by residual carbon dust inside a brand new cartridge. Flushing several gallons through the system, as described in the step by step sections above, typically resolves this within the first few uses.
Leaking around the housing
A leak at the seal almost always points to either a missing or damaged O ring, a housing that was not tightened enough, or cross threading during installation. Turn off the water supply, remove the housing, inspect the O ring for a proper seat, apply a small amount of food safe silicone grease if recommended by the manufacturer, and reinstall carefully.
Reduced water flow after installing a new filter
If flow is weaker immediately after a change, check that the cartridge is inserted with the correct flow direction, since installing it backwards can restrict water movement significantly. Also confirm that the water supply valve is fully open rather than only partially open.
Refrigerator filter indicator light does not reset
Most models require holding the reset button for a specific number of seconds, and some require pressing it while the compartment door is closed rather than open. Check your owner manual for the exact reset sequence, since it varies by brand.
RO storage tank fills very slowly
This can indicate a clogged pre filter restricting flow to the membrane, a fading membrane that needs replacement, or low tank pre charge pressure, which can sometimes be corrected by adding air to the tank bladder through the valve on the tank exterior.
Environmental and Health Considerations
Beyond taste and appliance protection, maintaining a properly functioning water filtration system has broader benefits. Households that rely on a well maintained whole house water filter and reverse osmosis water filter tend to reduce their reliance on single use bottled water, which cuts down on plastic waste over time. Timely filter changes also matter for health reasons, since a cartridge that has exceeded its rated capacity can lose effectiveness at reducing contaminants and, in some cases, can become a breeding location for bacteria if left in place far past its intended service life.
For households with infants, elderly residents, or anyone with a compromised immune system, staying strictly on schedule with filter replacement is particularly important, since these groups are generally more sensitive to even small changes in water quality. If anyone in the household falls into a higher risk category, it can be worth setting reminders slightly ahead of the standard schedule rather than waiting for an indicator light or visible sign of reduced performance.
Related products
-
 >
>
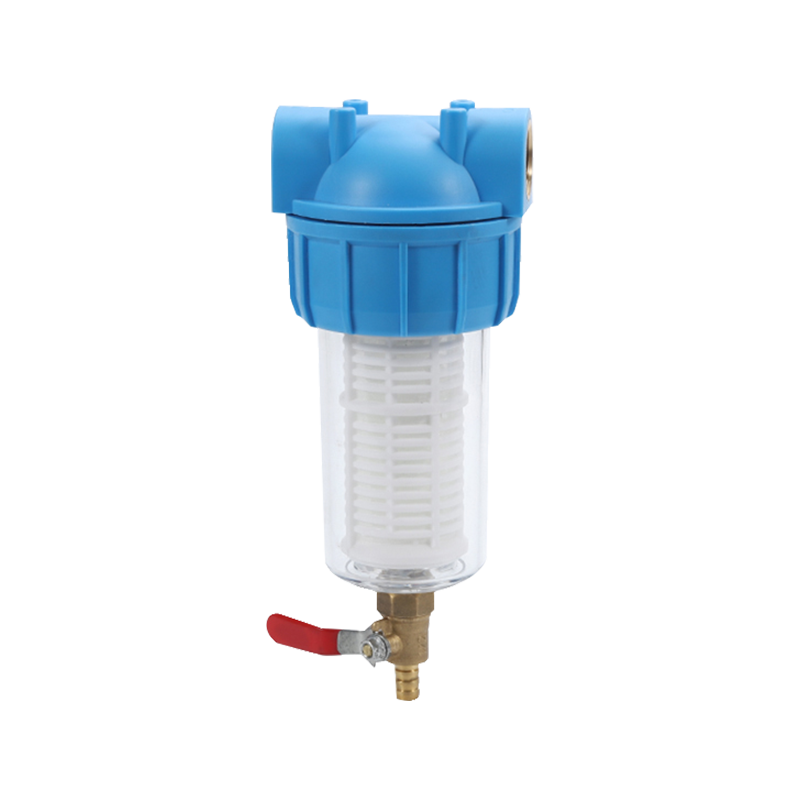
RH-06J5BSingle Water Filter with copper recoil valve is characterized by its efficient filtration system, which can effectively remove impurities, suspended matter, residual chlorine, odor and some ha...
See Details -
 >
>
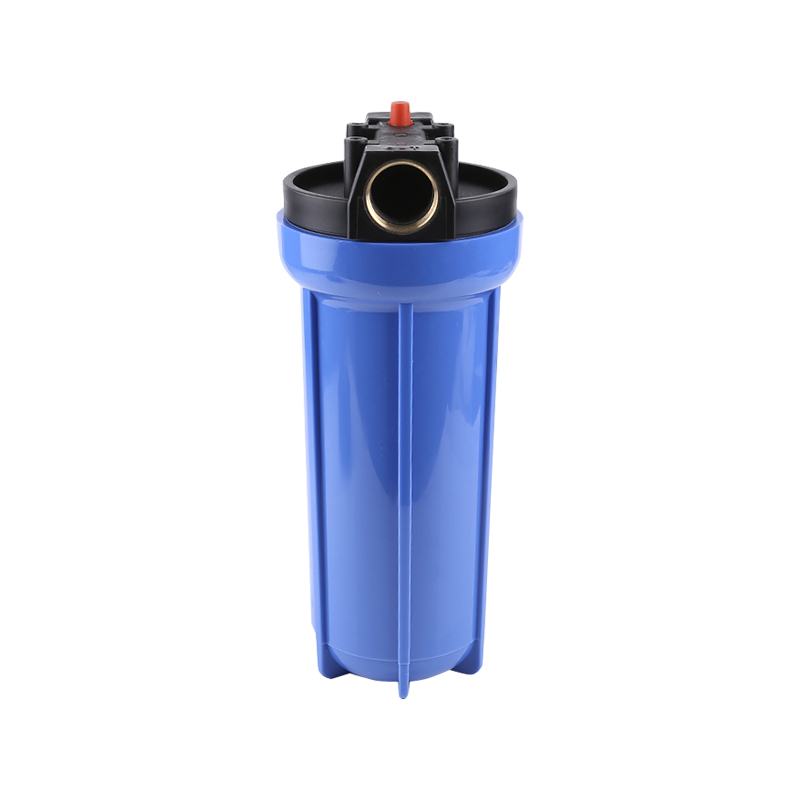
1. Single Water Filter(15BAR).2. 10" PET bottle+black cap, 3/4"brass thread.3. With 10" PP 70g filter cartridge.4. Color box packing.5. Components: wrench+plastic hanging board+screw.
See Details -
 >
>
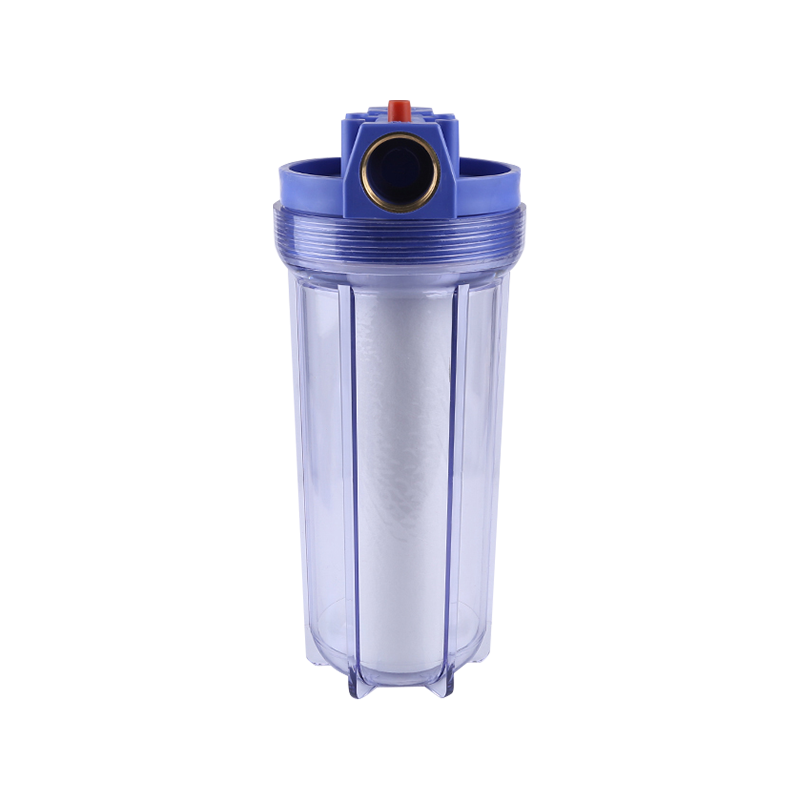
1. Single Water Filter(15BAR); 2. 10" PET bottle+blue cap,3/4"brass thread.3. With 10" PP 70g filtercartridge.4. Color box Packing. 5. Components: wrench+plastic hanging board+screw.
See Details -
 >
>
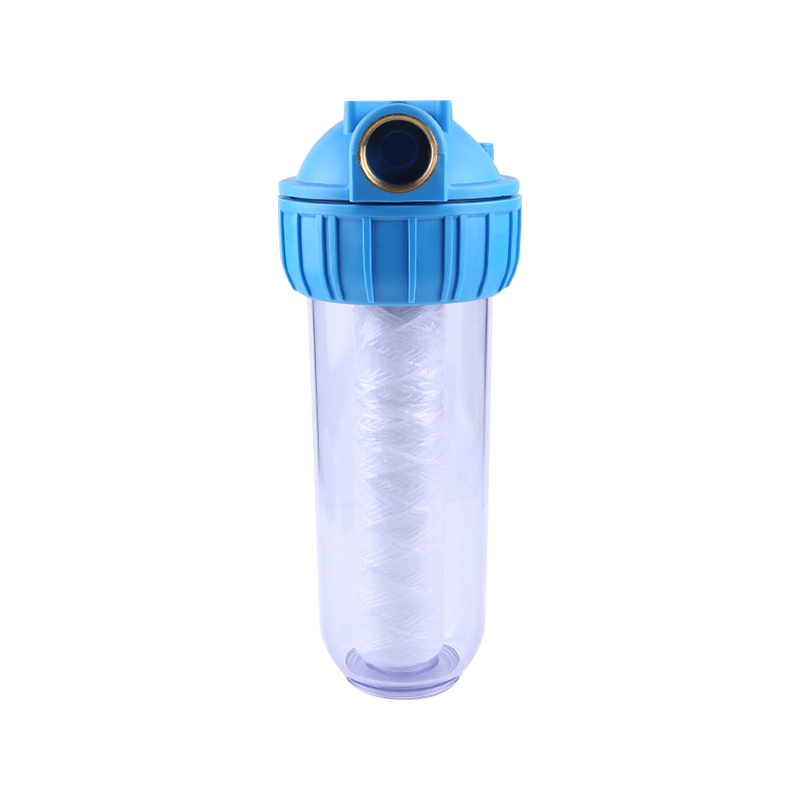
1. Single Water Filter(15BAR).2. 10" PET bottle+blue cap,3/4"brass thread.3. With 10" pp 70g cartridge. 4. Color box Packing. 5. Components: wrench+plastic hanging board+screw.
See Details -
 >
>
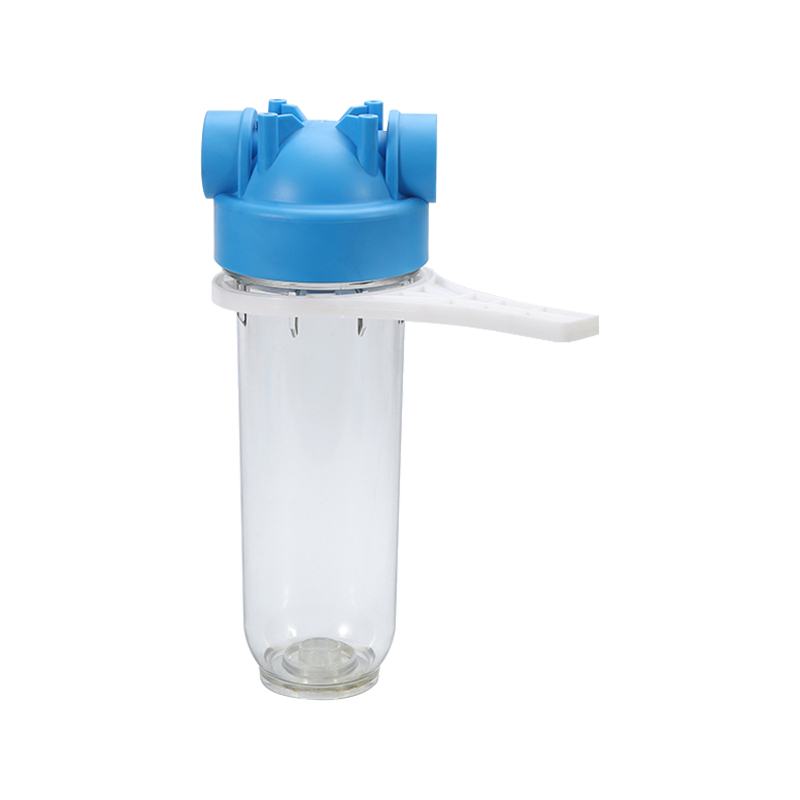
1. Single Water Filter(15BAR).2. 10" PET bottle+blue cap,3/4"brass thread.3. With 10" PP 70g filter cartridge.4. Color box Packing.5. Components: wrench+plastic hanging board+screw.
See Details -
 >
>
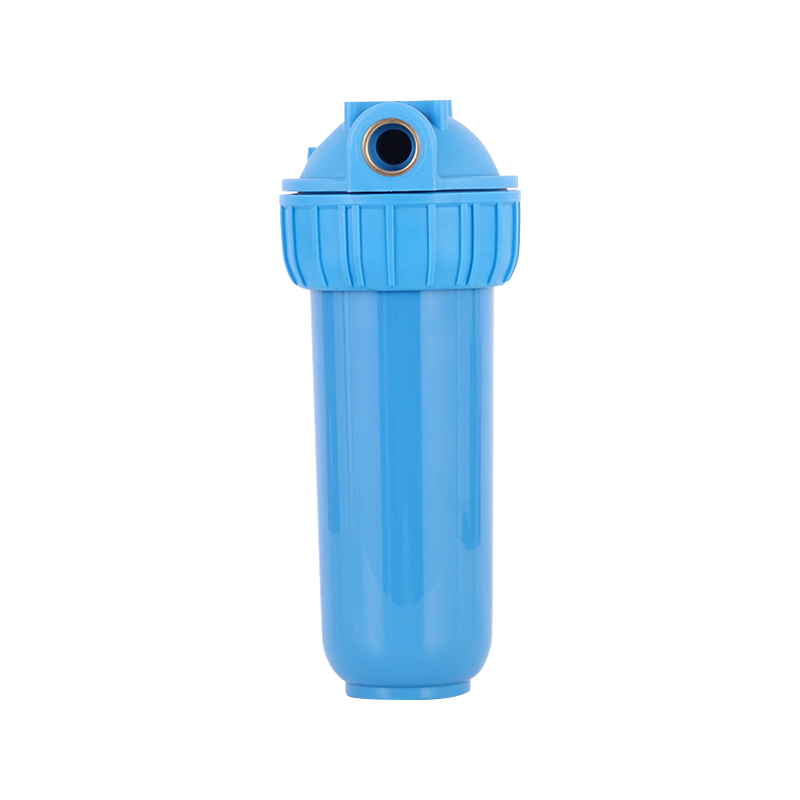
1. Single Water Filter(15BAR).2. 10" PET blue bottle+blue cap,3/4"brass thread.3. With 10" pp 70g cartridge. 4. Color box Packing. 5. Components: wrench+plastic hanging board.
See Details -
 >
>
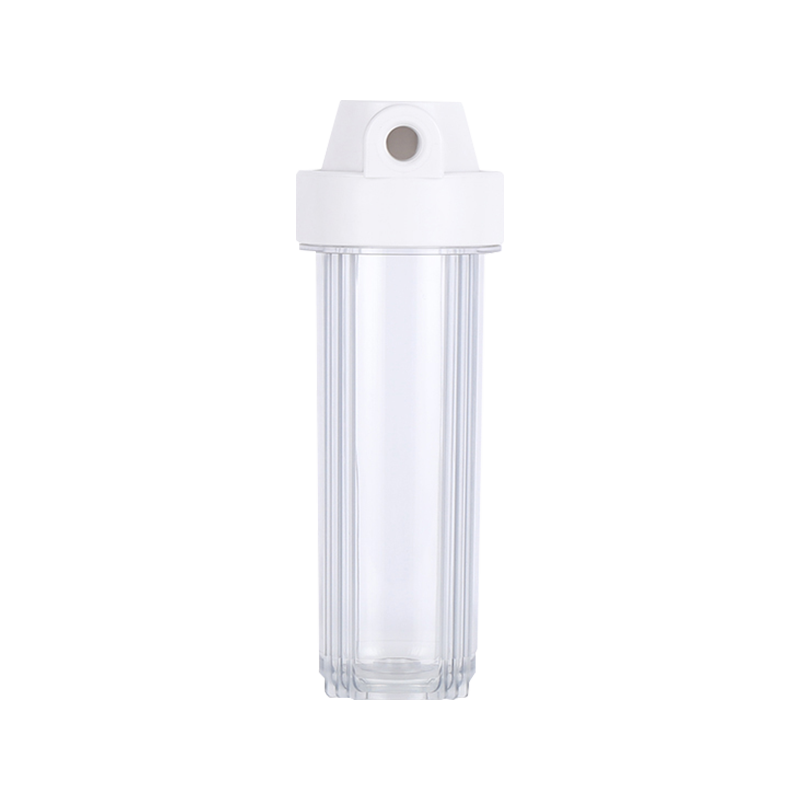
1. Single Water Filter(15BAR).2. 10" PET transparent bottle+white cap,1/4"brass thread.3. With 10" pp 70g cartridge. 4. Color box Packing.
See Details

If you are interested in our products, please consult us
Ningbo Yaorui Water Purification Technology Co., LTD. All Rights Reserved.
Wholesale Household Water Purifier Manufacturers
