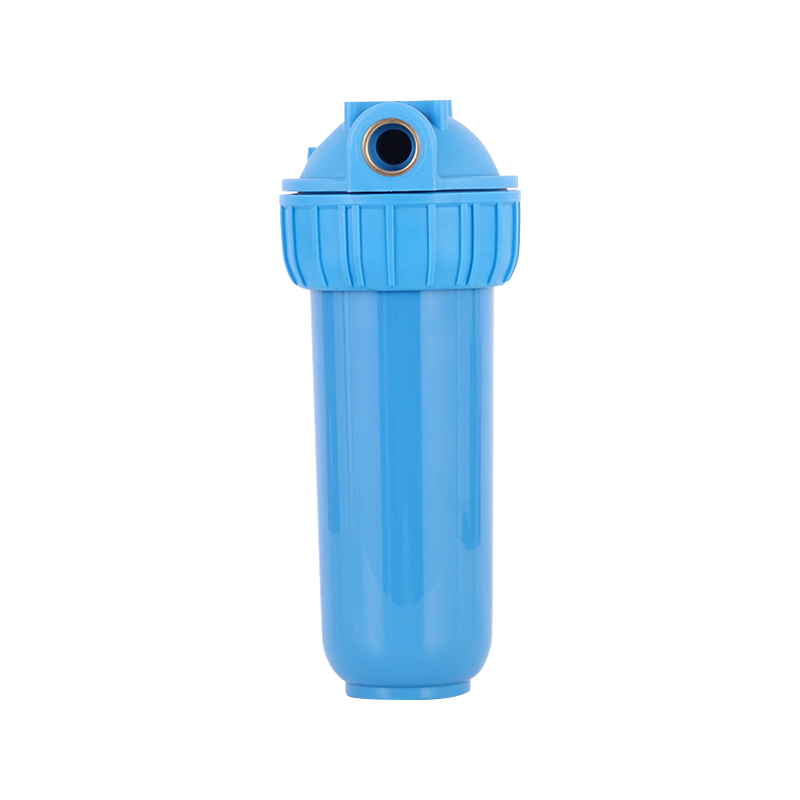
The core highlight of this filter is its built-in silicone sheet filter layer. As a high-performance elastic material, silicone has high-temperature resistance, aging resistance, corrosion resistance,...
See Details [email protected]
 +86-18857088392
 No. 1, Guihua 'an Road, Qinggang Xiaohu Family, Mushan Town, Yuyao , Zhejiang, CHINA
How to Clean and Replace Your Water Filter Cartridge: Step-by-Step
Industry News-1. Understand Your Water Filter System
Before cleaning and replacing your water filter cartridge, first understand the type of water filter you use at home. Different filter systems and cartridge designs vary, so replacement procedures may also vary.
Activated carbon filters: These are typically used to remove chlorine, odors, impurities, and some harmful chemicals from water.
Reverse osmosis (RO) systems: These use a semi-permeable membrane to remove bacteria, heavy metals, minerals, and harmful substances from water. RO systems typically have multiple filter cartridges, such as a pre-filter, RO membrane, and post-filter.
Ultraviolet (UV) disinfection systems: These use UV lamps to kill bacteria and viruses in water and are often used in conjunction with other filtration systems.
Ion exchange systems: These are primarily used to soften hard water and remove calcium and magnesium ions.
Select the appropriate filter cartridge based on your appliance model. Most filters will indicate the compatible model in the manual or on the cartridge itself.
2. Gathering Tools
Before you begin cleaning and replacing the filter cartridge, make sure you have the following tools and materials:
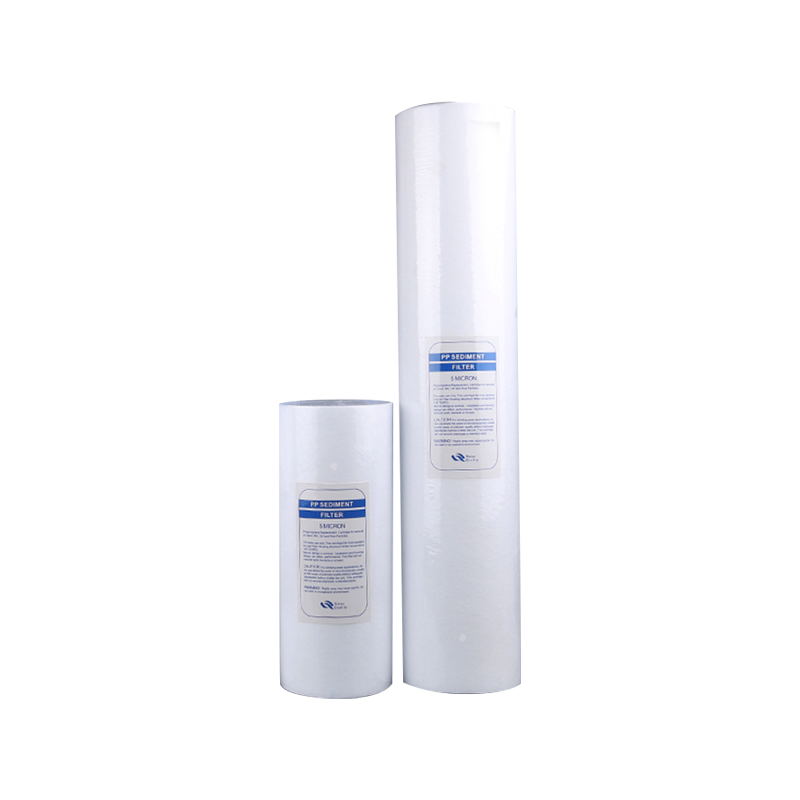
New filter cartridge:
Purchase the appropriate filter cartridge based on the model and type of appliance you have. Make sure the new filter cartridge matches the old one to avoid buying the wrong one.
Most filter cartridges can be purchased online or at specialized water treatment equipment stores. Be sure to choose a reputable brand.
Gloves:
During cleaning, it is recommended to wear disposable gloves to prevent dirt or bacteria from coming into contact with your skin.
Dishcloth or towel:
To clean the water filter housing and surrounding area, to prevent water from spilling onto the floor.
Warm water:
When cleaning, wipe the surface of the unit and the filter cartridge housing with warm water. Warm water effectively dissolves dirt and impurities.
Wrench or pliers:
If the filter cartridge is tightly installed or the filtration system needs to be disassembled, have the appropriate tools available.
Bucket or basin:
To catch any water that spills during filter cartridge removal to prevent it from spilling onto the floor and getting wet.
3. Cleaning Steps
Turn off the water supply
Turn off the water valve: Before replacing the filter cartridge, always turn off the water inlet valve. There is usually a separate water inlet valve near the water filter. After turning off the water valve, ensure that no water is flowing into the system. Disconnect the power (if necessary): If you are using a reverse osmosis (RO) or ultraviolet (UV) water treatment system, make sure to turn off the power or disconnect the power cord to prevent accidents.
Removing the Old Filter
Locate the Filter: The filter is typically located at the top or bottom of the water filter, but this location may vary depending on the type and brand. If there is a filter cover, remove it first.
Removing the Filter:
Spin-on Filters: These are usually removed by twisting them clockwise. Use your hands or a tool to gently twist them, applying slight pressure if they are tight.
Snap-on or Push-pull Filters: If the filter is secured with snaps, gently push or pull it out. Be sure not to damage the connections.
Dealing with Leaks: During removal, some residual water may drip from the filter. Prepare a towel or container to catch any leaking water, avoiding wetting the surrounding area.
Cleaning the Filter Housing
Wipe the water filter housing with warm water and a clean cloth. Warm water helps dissolve oil, dirt, and limescale buildup. Pay attention to dead corners: When cleaning, pay attention to the corners and crevices of the filter, as these are prone to trapping dust and debris. If there are stubborn stains, gently scrub with a brush.
Be careful not to use harsh cleaning agents: Avoid using cleaning agents containing bleach or strong acids, as these may damage the device.
Inspect the filter housing
After cleaning the housing, carefully inspect the filter housing for any dirt, debris, or scale. If present, wipe it clean with a damp cloth. If scale is present, gently remove it by soaking it in white vinegar or a special cleaning solution.
For reverse osmosis systems, inspect the connection to the filter membrane to ensure it is not clogged with debris.
4. Replacing the Filter Cartridge
Installing a New Filter Cartridge
Installing the new filter cartridge into the filter housing according to the directions and method specified in the instruction manual. Most filter cartridges are marked with an arrow to indicate the correct installation direction; ensure the arrow points in the direction of water flow.
Installation Tip: If the filter cartridge is a screw-on type, ensure it is firmly screwed in place. Avoid excessive force to avoid damaging the seal or filter cartridge. Seal Check
Check the seal around the new filter element to ensure it is intact and free of damage or deformation. If damaged, replace it with a new one to prevent leaks.
Reconnecting the System
If it's a reverse osmosis (RO) system, ensure all pipes are reconnected and the joints are secure.
Check the water valve: Reopen the water supply and slowly release the water, observing the connections for leaks.
If it's a pressurized filtration system, release the water gradually to avoid over-pressure and leaks.
5. Testing the Water Quality
Activating the New Filter: After replacing the filter element, open the tap and let the water run for a few minutes. This helps the new filter element fully activate.
Testing the Water Quality: Use a TDS (Total Dissolved Solids) meter to test the water quality. A lower TDS value generally indicates that the filter element is functioning properly. A new filter element should effectively reduce the TDS value.
6. Regular Maintenance and Replacement
Replacement Frequency: The filter element replacement frequency varies depending on the type of equipment and frequency of use. Generally, activated carbon filters should be replaced every six months to a year, while reverse osmosis filters are typically replaced every two years.
Inspect other components: Regularly inspect other parts of your water filtration system, such as the hoses, connectors, and pressure pump (if any), to prevent damage that could cause system performance degradation.
Filter Inspection Schedule: Establishing a schedule for cleaning and replacing filters will ensure timely maintenance and extend the life of your system.

 English
 русский
 Español
 عربى
عربى 中文简体
中文简体
 >
> >
> >
> >
> >
> >
> >
> >
>
