 English
 русский
 Español
 عربى
عربى 中文简体
中文简体
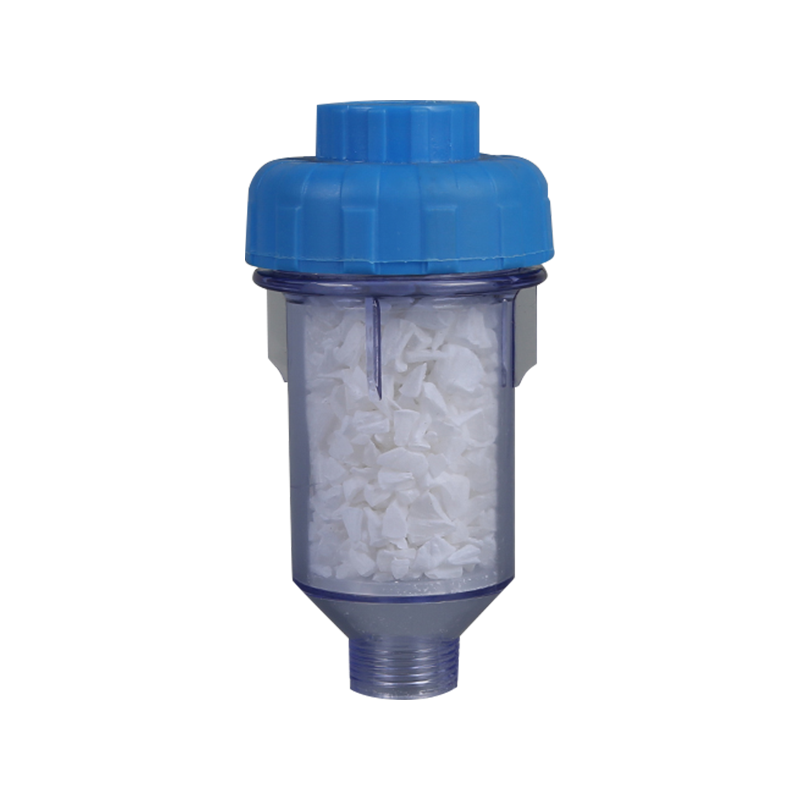 >
>The core highlight of this filter is its built-in silicone sheet filter layer. As a high-performance elastic material, silicone has high-temperature resistance, aging resistance, corrosion resistance,...
See Details [email protected]
 +86-18368206374
 No.99,Yuma Road,Mazhu Town,Yuyao City,Zhejiang Province,China.
How to Install a Reverse Osmosis System?
Industry News-Content
- 1 Quick Answer: How to Install a Reverse Osmosis System
- 2 Signs Your Home Needs a Reverse Osmosis Water Filter
- 3 What Is a Reverse Osmosis System and How Does It Work
- 4 Tools and Materials Needed Before You Start
- 5 Planning Your Installation Before You Pick Up a Tool
- 6 Step by Step Installation Guide
- 7 Under Sink vs Whole House Reverse Osmosis System Installation
- 8 Common Installation Mistakes to Avoid
- 9 Maintenance After Installation
- 10 Reverse Osmosis vs Other Water Filtration Methods
- 11 How to Choose the Best Reverse Osmosis System for Your Home
- 11.1 Check Your Water Quality First
- 11.2 Match Daily Output to Household Size
- 11.3 Consider Tankless Designs for Speed and Space
- 11.4 Decide Between Under Sink and Whole House Coverage
- 11.5 Look For NSF Certification
- 11.6 Check Warranty Coverage
- 11.7 Look at Filter Change Design
- 11.8 Compare Rejection Rate Claims
- 11.9 Renters and Small Kitchens
- 11.10 Households With High Daily Water Use
- 12 Reverse Osmosis System Installation Cost Breakdown
- 13 Troubleshooting After Installation
- 14 Testing Your Water After Installation
- 15 Recommended Manufacturer for Reliable RO Components
- 16 Frequently Asked Questions
- 17 Final Thoughts
A practical, room by room walkthrough for installing an under sink or whole house reverse osmosis system, plus the tools, costs, and maintenance schedule you need to keep it running for years.
In This Guide
- Quick Answer
- What Is a Reverse Osmosis System
- Tools and Materials Needed
- Step by Step Installation
- Under Sink vs Whole House Installation
- Common Mistakes to Avoid
- Maintenance After Installation
- RO vs Other Filtration Methods
- Choosing the Best System
- Installation Cost Breakdown
- Troubleshooting
- Recommended Manufacturer
- FAQ
Quick Answer: How to Install a Reverse Osmosis System
Installing a reverse osmosis system at home generally takes two to four hours and follows the same core sequence no matter the brand you choose:
- Turn off the cold water supply valve under the sink and choose a mounting location for the filter housings.
- Install the feed water adapter on the cold water line and connect it to the RO inlet.
- Mount the filter housings or filter cartridges, membrane housing, and storage tank.
- Drill a hole for the dedicated RO faucet and mount it on the sink or countertop.
- Connect the drain saddle to the sink drain pipe for wastewater.
- Connect all tubing using push fit fittings, following the flow direction printed on each stage.
- Turn the water supply back on, flush the system for fifteen to twenty minutes, then check every connection for leaks.
A reverse osmosis water filter is one of the most effective ways to remove dissolved solids, chlorine, heavy metals, and other contaminants from tap water, and installing one yourself is very achievable even if you have never done any home plumbing before. This guide walks through every stage of a reverse osmosis system installation, compares under sink units with whole house reverse osmosis system setups, and gives you the maintenance schedule you need to keep your reverse osmosis water filtration system performing at its best for years to come.
Signs Your Home Needs a Reverse Osmosis Water Filter
Not every household needs the same level of filtration, so it helps to recognize the warning signs that point toward reverse osmosis as the right investment rather than a simpler pitcher filter or basic carbon cartridge.
- Your water has a noticeable chlorine smell or a flat, chemical aftertaste even after boiling
- White scale builds up quickly on faucets, showerheads, and glassware, which often signals high mineral content that a standard filter cannot address
- Your local water quality report shows elevated levels of lead, arsenic, nitrates, or fluoride above the level you are comfortable with
- You rely on well water, which is not treated by a municipal supplier and can carry a wider range of unmonitored contaminants
- You currently buy bottled water regularly for drinking and cooking, which becomes far more expensive over time than a one time reverse osmosis system installation
- Your ice maker or coffee machine produces cloudy ice or a filmy residue that suggests dissolved solids passing through your existing filtration
If two or more of these apply to your household, a reverse osmosis water filtration system is very likely to deliver a noticeable improvement in both water taste and water safety.
What Is a Reverse Osmosis System and How Does It Work
A reverse osmosis system pushes tap water through a semi permeable membrane with pores small enough to block dissolved salts, lead, arsenic, fluoride, nitrates, and many other contaminants while letting clean water molecules pass through. The result is water that is typically 90 to 99 percent free of total dissolved solids, depending on the membrane rating and incoming water pressure.
Most residential reverse osmosis water systems use between three and six stages to prepare the water before and after it reaches the membrane:
Pre Filtration Stages
A sediment filter removes sand, rust, and dirt particles. A carbon filter then removes chlorine and chemicals that would otherwise shorten the life of the membrane.
Membrane Stage
The reverse osmosis membrane is the heart of the system. It rejects dissolved contaminants down to a molecular level and sends the concentrated waste to a drain line.
Storage Stage
A pressurized storage tank holds finished water so it is available on demand at the faucet instead of waiting for the slow membrane process every time you turn on the tap.
Post Filtration Stage
A final carbon polishing filter removes any residual taste or odor right before the water reaches your dedicated reverse osmosis faucet.
Understanding this flow matters during installation because every tube you connect follows this same directional logic: feed water in, filtered water out, and wastewater to the drain. Getting the flow direction wrong is the single most common installation mistake, so keep this sequence in mind as you work.
A Closer Look at Each Filtration Stage
Manufacturers describe their products as three stage, four stage, five stage, or six stage reverse osmosis systems, and the number simply refers to how many individual filtration steps the water passes through before reaching your glass. More stages generally mean broader contaminant removal and better tasting water, though they also mean more filters to track and replace over time.
| Stage | Filter Type | Primary Job |
| Stage 1 | Sediment Filter | Captures sand, silt, and rust particles before they reach sensitive downstream components |
| Stage 2 | Carbon Block Filter | Absorbs chlorine, chloramine, and volatile organic compounds |
| Stage 3 | Second Carbon Filter | Provides additional chemical reduction and protects the membrane surface |
| Stage 4 | RO Membrane | Removes dissolved solids, heavy metals, fluoride, and most microorganisms down to a near molecular level |
| Stage 5 | Post Carbon Filter | Polishes taste and odor immediately before water reaches the faucet |
| Stage 6, Optional | Remineralization or UV Filter | Adds back trace minerals or provides an extra layer of microbial protection |
When you shop for a reverse osmosis filter, pay attention to how each of these stages is described in the product listing. A unit advertised only by its total stage count without explaining what each stage does may be cutting corners on the pre filtration that protects the membrane, which shortens its usable lifespan.
Tools and Materials Needed Before You Start
Before you begin installing your reverse osmosis water filter, gather everything below so you are not stopping midway through the job to search for a missing part.
| Category | Items | Notes |
| Basic Tools | Adjustable wrench, screwdriver set, tubing cutter, electric drill | A cordless drill with a half inch bit is needed for the faucet and drain saddle holes |
| System Components | Filter housings, membrane, storage tank, feed adapter, drain saddle, dedicated faucet | Usually included in a complete reverse osmosis system kit |
| Tubing and Fittings | Push fit tubing, John Guest style connectors, tube cutter, Teflon tape | Keep a few spare connectors on hand in case of a poor seal |
| Safety Items | Bucket, towels, flashlight, gloves | Water will drain from the supply line when you disconnect it |
| Optional Upgrades | Booster pump, UV sterilizer, remineralization filter, leak detector | Useful if incoming water pressure is low or you want mineral enhanced water |
Tip: Lay out every filter stage on the floor in the order printed on the housing before you start connecting tubing. This five minute step prevents the vast majority of flow direction mistakes.
Planning Your Installation Before You Pick Up a Tool
A little planning before installation day saves you from mid project surprises. Walk through the questions below while your kitchen is still fully accessible.
Confirm Your Water Pressure
Most reverse osmosis membranes are rated to operate between 40 and 80 psi. You can check your home's static water pressure with an inexpensive gauge that threads onto an outdoor spigot or a washing machine connection. If your reading comes in below 40 psi, plan to install a booster pump alongside the RO unit rather than discovering slow output after everything is already connected.
Measure Available Cabinet Space
Under sink cabinets vary widely in depth and width. Measure the height, width, and depth of your cabinet and compare it against the footprint of your chosen filter housings and storage tank before ordering, since some multi stage systems with a full size tank need close to two feet of depth to fit comfortably alongside a garbage disposal or drain trap.
Decide Where the Tank Will Live
Standard pressurized tanks range from a compact two gallon size to a bulky four gallon size, and tankless systems eliminate this consideration entirely. If cabinet space is tight, some homeowners relocate the tank to an adjacent cabinet or a nearby closet and run an extra length of tubing rather than compressing everything into one cramped space.
Check Local Code Requirements for the Drain Line
Many jurisdictions require an air gap fitting on the drain line to prevent wastewater from siphoning back into the RO system, while others accept a standard drain saddle connection without an air gap. A quick call to your local building department or a look at your area's plumbing code will tell you which approach applies to your installation.
Step by Step Installation Guide
The instructions below apply to a standard under sink reverse osmosis system for home use. Read through the entire process once before picking up a tool, since a few steps depend on decisions you make earlier in the process, such as where you mount the storage tank.
1Shut Off the Water and Clear the Cabinet
Turn off the cold water supply valve under the sink, then open the faucet briefly to release pressure in the line. Empty the cabinet completely so you have full access to the plumbing and enough room to work comfortably.
Tip: Place a towel and a small bucket under the connection point before disconnecting anything, since a small amount of residual water will drain out.
2Install the Feed Water Adapter
Disconnect the cold water supply line from the shutoff valve. Install the feed water adapter, sometimes called a saddle valve or angle stop adapter, between the shutoff valve and the original supply line. This adapter is where the reverse osmosis system will draw its incoming water.
Wrap the threads with Teflon tape before tightening to prevent leaks, then reconnect the original cold water line to the new adapter.
3Mount the Filter Housings
Choose a flat section on the cabinet wall for the filter housings, usually the sediment and carbon pre filters plus the membrane housing. Use the mounting bracket provided with your kit and mark the screw holes with a pencil before drilling.
Leave enough clearance below the housings so you can twist filter cartridges on and off during future maintenance without removing the whole unit.
4Position the Storage Tank
Set the pressurized storage tank in an open area of the cabinet, ideally where it will not need to move again since it is heavy once filled. Some homeowners with limited cabinet space install the tank in a nearby closet or basement and run a longer feed tube to the sink.
5Drill and Install the Dedicated Faucet
Choose a spot on the sink or countertop, typically next to the main kitchen faucet. Drill a hole sized to match the faucet base, usually one half inch, then thread the faucet stem down through the hole and secure it from underneath with the mounting nut.
Tip: If your sink has an unused sprayer hole or soap dispenser hole, you may be able to reuse that opening instead of drilling a new one.
6Install the Drain Saddle
Locate a straight vertical section of the sink drain pipe above the trap. Clamp the drain saddle around the pipe, then drill a small hole through the pipe wall inside the saddle opening. This is where wastewater from the reverse osmosis membrane will be carried away.
Position the saddle high enough on the drain pipe to prevent backflow of dirty water into the RO system, and always keep the drain line sloped downward toward the pipe.
7Connect the Tubing
Following the flow diagram printed on your unit, connect tubing in this order: feed adapter to first filter stage, filter stages in sequence, membrane housing, storage tank, final carbon filter, and dedicated faucet. Cut tubing with a clean straight edge using a tubing cutter, not scissors, since a ragged edge will leak in a push fit fitting.
Push each tube fully into its fitting until it stops, then give it a gentle tug to confirm it is seated correctly.
8Flush the System
Turn the cold water supply back on slowly and check every connection point for drips. Let the system run for fifteen to twenty minutes with the storage tank valve closed so the membrane can flush out manufacturing residue and air. Open the dedicated faucet periodically during this flush and let water run to drain.
9Fill the Storage Tank and Test
Open the storage tank valve and allow it to fill completely, which typically takes two to four hours depending on your water pressure. Once full, drain the entire tank through the faucet one time and let it refill before drinking the water, since the first fill can carry a slightly plastic taste from new components.
Under Sink vs Whole House Reverse Osmosis System Installation
Homeowners often ask whether they need a compact under sink unit or a whole house reverse osmosis system that treats water at the point where it enters the home. The right choice depends on your water quality, budget, and how much of your home's water you want filtered.
| Factor | Under Sink RO System | Whole House RO System |
| Installation Location | Kitchen cabinet, near the main supply line | Point of entry, usually near the main water line or utility room |
| Coverage | One faucet, drinking and cooking water only | Every tap, shower, and appliance in the home |
| Typical Installation Time | Two to four hours for a confident DIYer | One to two full days, often requiring professional plumbing |
| Water Pressure Needs | 40 to 80 psi is usually sufficient | Often requires a booster pump to maintain house wide pressure |
| Waste Water Ratio | Roughly 3 to 1 for older systems, 1 to 1 for tankless designs | Higher total waste volume due to whole home flow rates |
| Best For | Renters, apartments, budget conscious households | Homes with poor well water, hard water, or high contaminant levels throughout |
A whole house reverse osmosis system generally requires a dedicated storage tank of 100 gallons or more, a repressurization pump, and space for pre treatment stages such as a water softener to protect the membrane from scale. Because of the plumbing complexity and the need to tie into the main water line, many homeowners hire a licensed plumber for this installation even if they handle the under sink version themselves.
What a Whole House Installation Involves
If you decide to move forward with a whole house reverse osmosis system, the general installation sequence looks like this, though the exact steps vary by product and home layout:
- Install a sediment pre filter and, in most cases, a water softener ahead of the RO unit to protect the membrane from hardness minerals and particulate buildup
- Mount the main RO cabinet or rack near the point where the main water line enters the home, typically in a basement, garage, or dedicated utility closet
- Connect the large capacity storage tank, which is often sized between 100 and 300 gallons depending on household water use
- Install a repressurization pump and pressure tank so filtered water reaches every fixture in the home at normal household pressure
- Run a dedicated drain line for the RO wastewater, sized appropriately for the higher flow volume of a whole house unit
- Tie the treated water output into the home's main cold water distribution line, which is the step most likely to require a licensed plumber depending on your local code
Why Pre Treatment Matters More at Whole House Scale
Because a whole house system pushes far more water through the membrane over its lifespan compared to a single under sink unit, scale and sediment buildup happen faster if the water is not properly conditioned first. This is why most whole house reverse osmosis system packages are sold bundled with a water softener or a scale inhibitor cartridge rather than as a standalone membrane unit.
Common Installation Mistakes to Avoid
Reversed Flow Direction
Every filter housing has an arrow or label showing which port is the inlet and which is the outlet. Connecting tubing backward will either block flow entirely or push unfiltered water past the membrane.
Skipping the Initial Flush
New carbon filters release fine carbon dust when first wetted. Skipping the fifteen to twenty minute flush step means that dust ends up in your first glasses of water.
Drain Saddle Positioned Too Low
If the drain line connects below the sink trap or too close to standing wastewater, dirty water can siphon back into the RO drain line. Always mount the saddle on a vertical pipe section above the trap.
Overtightening Push Fit Fittings
Push fit connectors are designed to seal with finger pressure plus a gentle push. Using a wrench on plastic fittings can crack the housing and cause a slow leak that is difficult to trace.
Ignoring Water Pressure Requirements
A reverse osmosis membrane needs a minimum of about 40 psi to produce water efficiently. If your home's pressure is lower, install a booster pump at the same time rather than troubleshooting slow output later.
Forgetting to Support the Full Storage Tank
A four gallon tank weighs significantly more once filled with water than it does empty. Make sure the cabinet floor or mounting bracket can support the full weight so the tank does not shift and stress the connected tubing over time.
Not Labeling Filter Change Dates
Without a visible reminder, it is easy to lose track of when a filter was last replaced. Write the install date directly on each cartridge with a permanent marker so future maintenance is straightforward for you or anyone else servicing the system.
Maintenance After Installation
A reverse osmosis water filtration system is not a one time install and forget device. Routine maintenance protects your investment and keeps contaminant removal rates high.
| Component | Replacement Frequency | Why It Matters |
| Sediment Pre Filter | Every 6 to 12 months | Prevents particles from clogging or scratching the membrane |
| Carbon Pre Filter | Every 6 to 12 months | Removes chlorine that would otherwise degrade the membrane material |
| RO Membrane | Every 2 to 3 years | The core filtration layer, gradually loses rejection capacity over time |
| Post Carbon Filter | Every 6 to 12 months | Polishes taste right before water reaches the faucet |
| Storage Tank Air Charge | Check annually | Maintains proper pressure so water flows well at the faucet |
| Full System Sanitization | Every 12 months | Prevents bacterial buildup in tubing and the storage tank |
Set a recurring reminder on your phone for filter changes, since forgetting this step is the most common reason a reverse osmosis water filter starts producing water with an off taste or a noticeably slower flow rate.
Reverse Osmosis vs Other Water Filtration Methods
Before finalizing your purchase, it helps to see how a reverse osmosis water system compares with other common filtration technologies.
| Method | Contaminants Removed | Maintenance | Typical Cost Range |
| Reverse Osmosis | Dissolved solids, heavy metals, fluoride, nitrates, most bacteria and viruses with add on stages | Filter changes every 6 to 12 months, membrane every 2 to 3 years | 150 to 600 USD for under sink units |
| Standard Carbon Filter | Chlorine, taste, odor, some organic compounds | Filter changes every 2 to 6 months | 20 to 80 USD |
| Water Softener | Calcium and magnesium hardness minerals only | Salt refills monthly | 400 to 2000 USD |
| UV Purifier | Bacteria and viruses only, no dissolved solids removed | Bulb replacement yearly | 150 to 500 USD |
| Distillation | Nearly all contaminants but very slow output | Regular cleaning of boiling chamber | 100 to 400 USD |
Reverse osmosis filtration stands out because it targets the broadest range of contaminants in a single system, especially dissolved inorganic compounds that carbon filters cannot capture on their own. Many homeowners pair an RO system with a carbon pre filter for the best of both worlds, which is exactly how most reverse osmosis water filter kits are designed from the factory.
How to Choose the Best Reverse Osmosis System for Your Home
The best reverse osmosis system for your household depends on a few practical factors rather than any single universal answer.
Check Your Water Quality First
Request a water quality report from your municipal supplier or have well water tested independently. High levels of arsenic, nitrates, or total dissolved solids point strongly toward reverse osmosis as the right technology, while a household mainly concerned about chlorine taste might be satisfied with a simpler carbon filter.
Match Daily Output to Household Size
Residential RO systems are commonly rated between 50 and 400 gallons per day. A household of four typically does well with a 75 to 100 gallon per day system, while larger families or homes that also feed an ice maker and refrigerator dispenser should look at 150 gallons per day or more.
Consider Tankless Designs for Speed and Space
Tankless reverse osmosis systems use an internal pump to deliver water on demand without a bulky storage tank, and they typically waste far less water per gallon produced compared to older gravity fed tank designs.
Decide Between Under Sink and Whole House Coverage
If you only want purified water for drinking and cooking, an under sink reverse osmosis system for home use is the most budget friendly and fastest to install. If your water supply causes scale buildup in pipes and appliances throughout the house, a whole house reverse osmosis system is the more complete solution even though it costs more and takes longer to install.
Look For NSF Certification
NSF/ANSI 58 certification confirms a system has been independently tested for contaminant reduction claims, which is a reliable way to compare RO water systems from different manufacturers.
Check Warranty Coverage
A manufacturer that backs its membrane and housing components with a multi year warranty is generally a sign of consistent manufacturing quality.
Look at Filter Change Design
Twist and lock filter housings and quick change cartridges make routine maintenance faster and reduce the chance of a misaligned o ring causing a leak after a filter swap.
Compare Rejection Rate Claims
A membrane rejection rate above 95 percent for total dissolved solids is generally considered strong performance for residential reverse osmosis water systems.
Renters and Small Kitchens
If you rent your home or have a small kitchen with limited cabinet space, look for a compact tankless reverse osmosis water filter that mounts vertically and does not require drilling into the countertop, since some models use a diverter that clips onto an existing faucet instead of a dedicated tap.
Households With High Daily Water Use
Families that cook frequently, brew large amounts of coffee, or fill multiple water bottles a day should prioritize a higher gallon per day rating and a larger storage tank so the system can keep pace with demand without a noticeable wait between refills.
Reverse Osmosis System Installation Cost Breakdown
| Item | Estimated Cost Range |
| Basic Under Sink RO Unit, 3 to 4 Stage | 120 to 250 USD |
| Advanced Under Sink RO Unit, 5 to 6 Stage or Tankless | 250 to 600 USD |
| Whole House RO System | 1500 to 6000 USD including installation |
| Professional Under Sink Installation Labor | 75 to 200 USD if you do not DIY |
| Annual Filter Replacement Cost | 40 to 120 USD |
| Membrane Replacement, Every 2 to 3 Years | 30 to 80 USD |
| Optional Booster Pump | 60 to 150 USD |
Installing the system yourself instead of hiring a plumber typically saves the entire labor line item, which is one reason under sink reverse osmosis systems remain the most popular DIY water treatment project among homeowners.
Troubleshooting After Installation
QWater is leaking from a push fit fitting
Remove the tube, check that the cut end is clean and straight, and confirm the o ring inside the fitting is not pinched. Reinsert the tube fully and test again before tightening anything with a tool.
QWater flow at the faucet is very slow
Check that the storage tank has the correct air pre charge, usually around 7 psi when the tank is empty, and confirm the feed water valve is fully open. Low household water pressure below 40 psi is another common cause.
QWater has an unusual taste after installation
This is normal for the first one to two tank fills as manufacturing residue clears out. If the taste persists beyond that, confirm the post carbon filter is installed in the correct flow position.
QConstant water dripping from the drain line
A small continuous trickle is expected with standard tank based systems, since the membrane continuously flushes concentrated minerals to the drain while pressurizing the tank. A steady stream rather than a drip usually indicates a stuck check valve or restrictor that needs replacement.
Testing Your Water After Installation
Once your reverse osmosis system has been running for a few days, it is worth confirming that it is performing as expected rather than assuming everything is working correctly just because water is flowing.
- Use an inexpensive total dissolved solids meter to compare a reading from your tap water against a reading from the RO faucet. A well functioning membrane should reduce total dissolved solids by roughly 90 to 99 percent
- Check the reading again every few months, since a rising total dissolved solids number over time is usually the earliest sign that a membrane is nearing the end of its service life
- If your area has known contaminants such as lead or nitrates, consider a laboratory water test a few weeks after installation to confirm the system is meeting your expectations for those specific substances
- Keep a simple log of your total dissolved solids readings and filter change dates so you can spot trends rather than relying on memory
A total dissolved solids meter costs very little compared to the system itself and gives you an ongoing, objective way to confirm your reverse osmosis water filtration system is doing its job long after installation day.
Recommended Manufacturer for Reliable RO Components
Ningbo Yaorui Water Purification Technology Co., LTD
If you are sourcing components for a new reverse osmosis system installation, whether for a single under sink unit or a larger whole house reverse osmosis system project, Ningbo Yaorui Water Purification Technology Co., LTD is a manufacturer worth evaluating. The company specializes in reverse osmosis membranes, filter housings, storage tanks, and complete RO water system kits designed for consistent flow rates and long service life.
Working with an experienced manufacturer matters because filter housings, push fit fittings, and membrane housings need to be dimensionally consistent to avoid leaks during your own installation. A supplier that focuses specifically on reverse osmosis water filtration components, rather than general plumbing hardware, is more likely to provide parts that match industry standard sizing and threading.
RO Membranes Filter Housings Storage Tanks Complete RO Kits OEM Support
Frequently Asked Questions
QCan I install a reverse osmosis system myself without a plumber
Yes, most under sink reverse osmosis systems are designed for DIY installation using push fit fittings that do not require soldering or specialized tools. A whole house reverse osmosis system is more complex and often benefits from professional installation.
QHow long does a reverse osmosis system installation take
An under sink unit typically takes two to four hours from start to finish, including the initial flush. A whole house system can take one to two full days depending on how far the point of entry is from your main plumbing.
QDo I need a permit to install a reverse osmosis water system
An under sink unit generally does not require a permit since it connects to an existing supply line without altering the home's main plumbing. A whole house system tied into the main water line may require a permit depending on your local building codes, so check with your municipality before starting.
QHow much water does a reverse osmosis system waste
Traditional tank based systems produce roughly three gallons of wastewater for every gallon of purified water, though modern high efficiency and tankless designs have reduced this ratio closer to one to one in many models.
QDoes a reverse osmosis system remove beneficial minerals
Yes, the membrane removes most dissolved minerals along with contaminants. Many homeowners add a remineralization filter as the final stage to reintroduce trace minerals and improve taste.
QCan a reverse osmosis system be connected to a refrigerator or ice maker
Yes, most systems support a secondary output line that can be routed to a refrigerator water dispenser or ice maker, though you should confirm your storage tank size and daily output rating can support the additional demand.
QWhat is the difference between a reverse osmosis filter and a standard water filter pitcher
A pitcher filter typically uses a small carbon cartridge that improves taste and reduces chlorine but does little to remove dissolved solids, heavy metals, or fluoride. A reverse osmosis water filter uses a semi permeable membrane under pressure to remove a much broader range of contaminants, though it requires a permanent plumbing connection rather than manual refilling.
QIs it safe to drink reverse osmosis water every day
Yes, reverse osmosis water is safe for daily drinking and is used by millions of households worldwide. Some people choose to add a remineralization filter as a final stage to reintroduce trace minerals for taste preference, though this step is optional rather than a safety requirement.
Final Thoughts
Installing a reverse osmosis system is a manageable weekend project for most homeowners, and the payoff is measurably cleaner drinking and cooking water at a fraction of the ongoing cost of bottled water. Whether you choose a compact under sink unit or invest in a whole house reverse osmosis system, following the correct flow sequence, mounting components securely, and sticking to a routine maintenance schedule will keep your reverse osmosis water filtration system performing reliably for years. Sourcing quality components from an experienced manufacturer such as Ningbo Yaorui Water Purification Technology Co., LTD can also make a noticeable difference in long term reliability and ease of maintenance.
Related products
-
 >
>
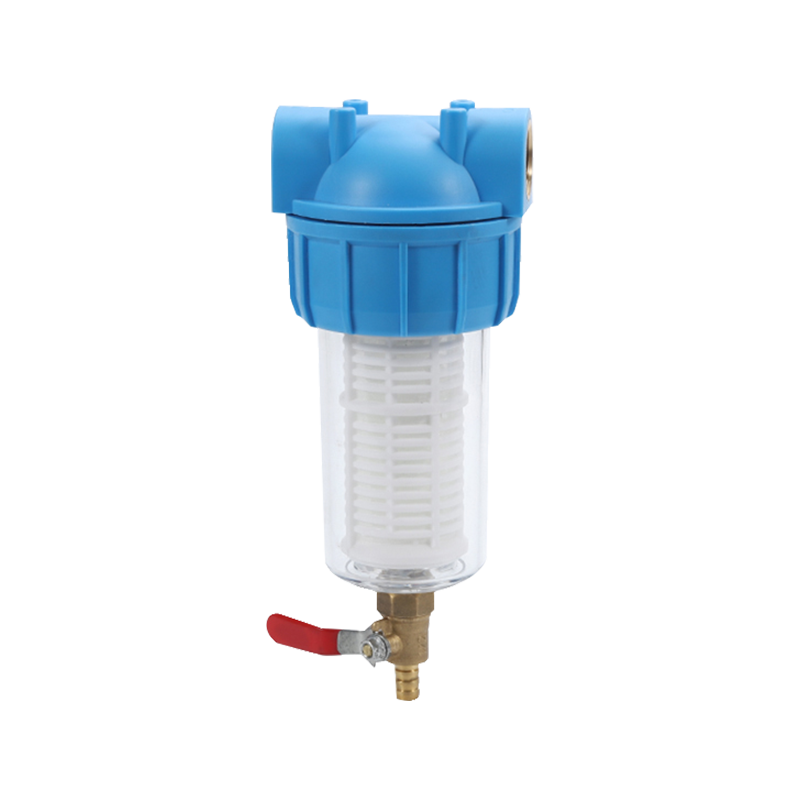
RH-06J5BSingle Water Filter with copper recoil valve is characterized by its efficient filtration system, which can effectively remove impurities, suspended matter, residual chlorine, odor and some ha...
See Details -
 >
>
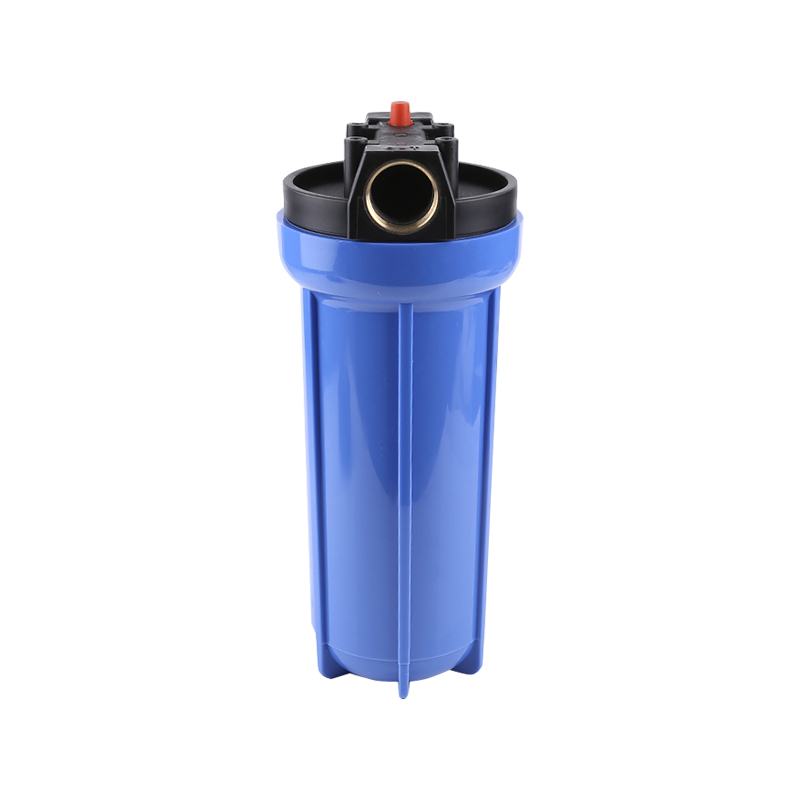
1. Single Water Filter(15BAR).2. 10" PET bottle+black cap, 3/4"brass thread.3. With 10" PP 70g filter cartridge.4. Color box packing.5. Components: wrench+plastic hanging board+screw.
See Details -
 >
>
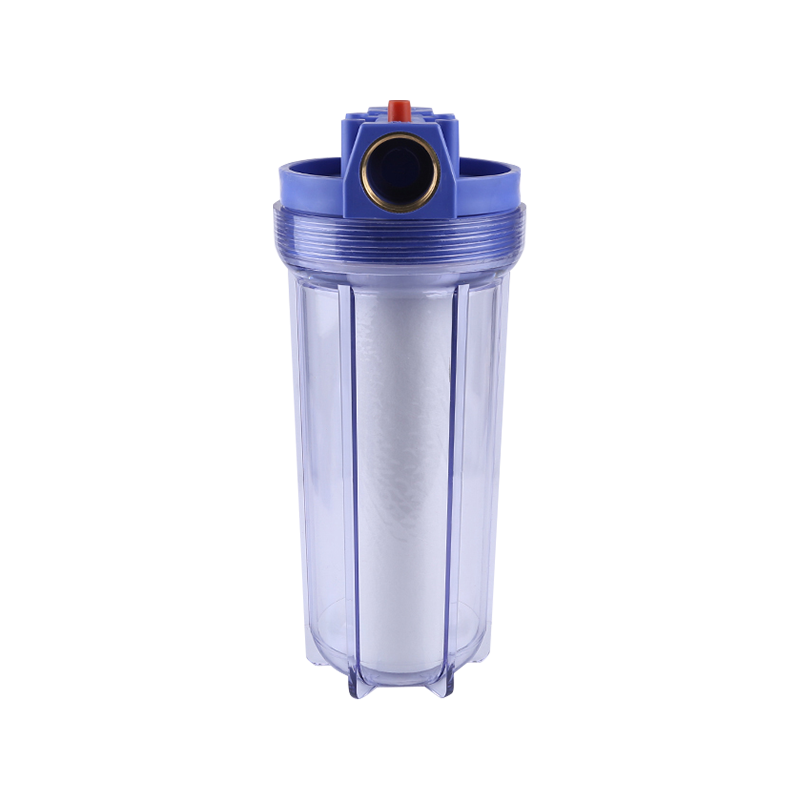
1. Single Water Filter(15BAR); 2. 10" PET bottle+blue cap,3/4"brass thread.3. With 10" PP 70g filtercartridge.4. Color box Packing. 5. Components: wrench+plastic hanging board+screw.
See Details -
 >
>
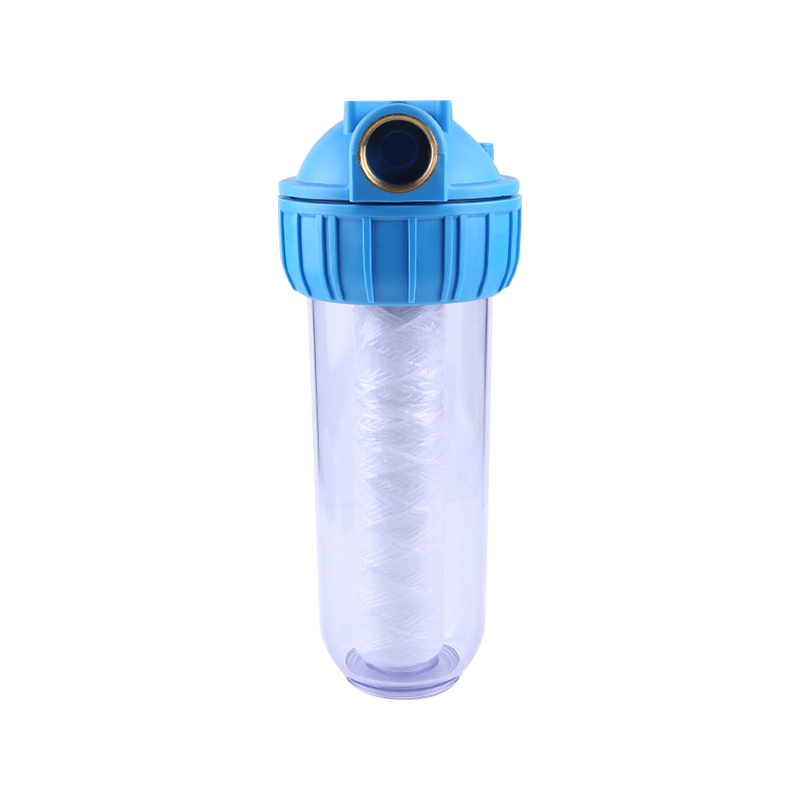
1. Single Water Filter(15BAR).2. 10" PET bottle+blue cap,3/4"brass thread.3. With 10" pp 70g cartridge. 4. Color box Packing. 5. Components: wrench+plastic hanging board+screw.
See Details -
 >
>
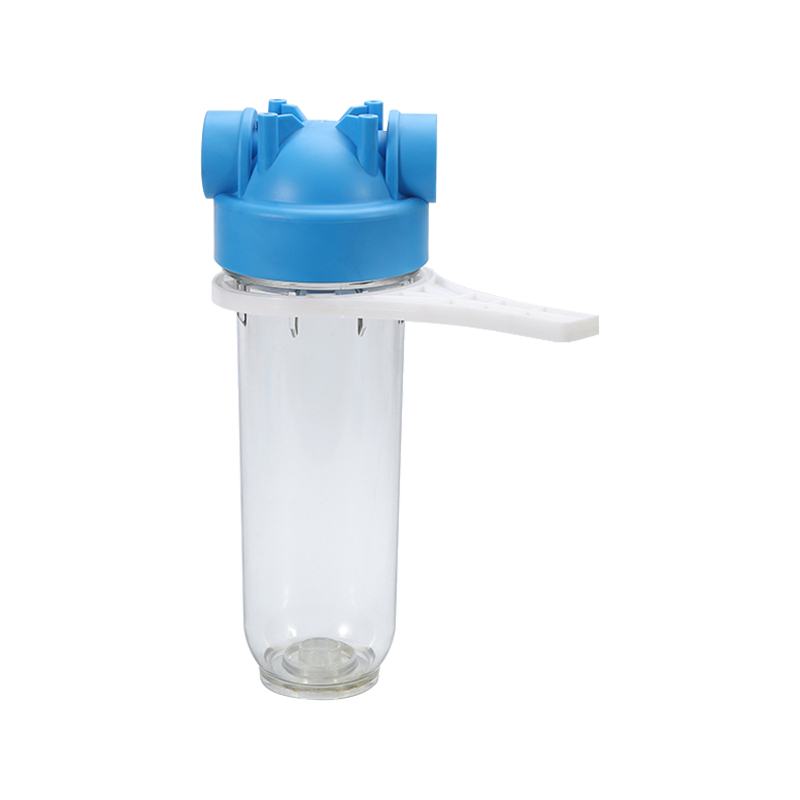
1. Single Water Filter(15BAR).2. 10" PET bottle+blue cap,3/4"brass thread.3. With 10" PP 70g filter cartridge.4. Color box Packing.5. Components: wrench+plastic hanging board+screw.
See Details -
 >
>
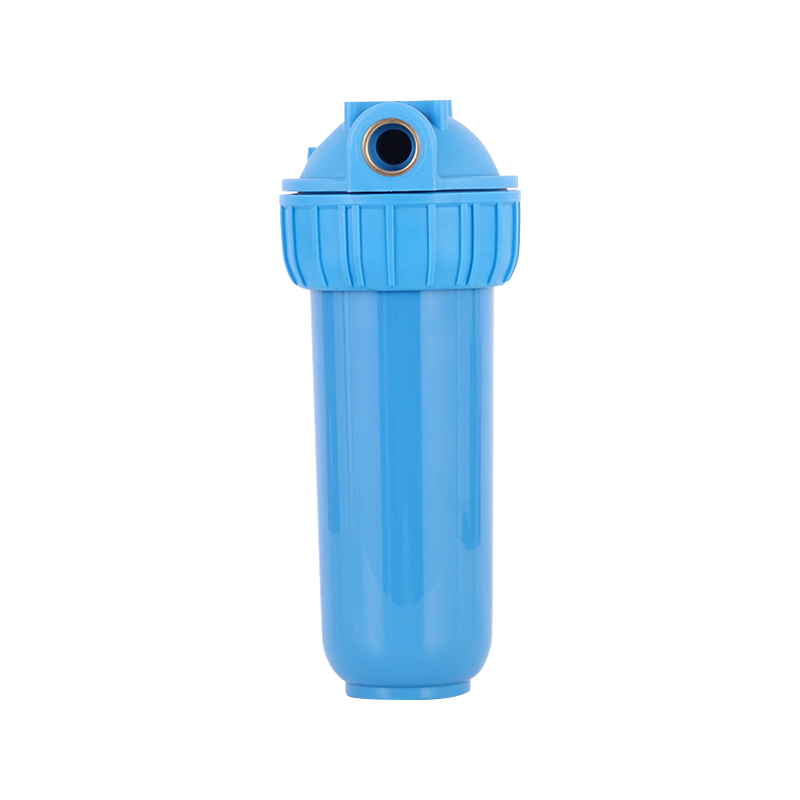
1. Single Water Filter(15BAR).2. 10" PET blue bottle+blue cap,3/4"brass thread.3. With 10" pp 70g cartridge. 4. Color box Packing. 5. Components: wrench+plastic hanging board.
See Details -
 >
>
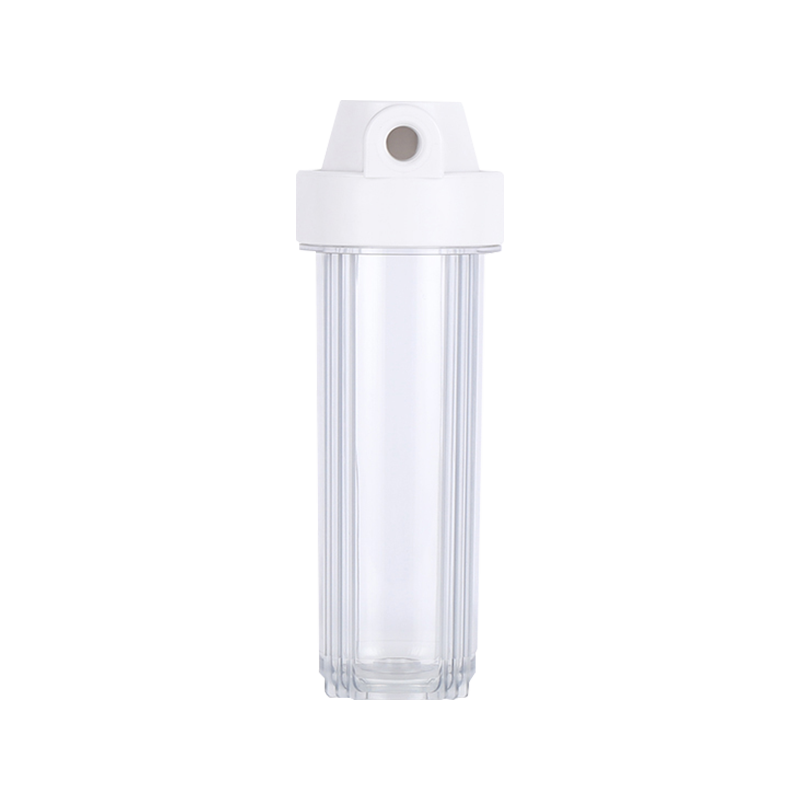
1. Single Water Filter(15BAR).2. 10" PET transparent bottle+white cap,1/4"brass thread.3. With 10" pp 70g cartridge. 4. Color box Packing.
See Details

If you are interested in our products, please consult us
Ningbo Yaorui Water Purification Technology Co., LTD. All Rights Reserved.
Wholesale Household Water Purifier Manufacturers
